
Photo by bovin wook on Unsplash
Thrifting and upcycling turn low-cost finds into stylish, personalized decor. This guide collects 50 practical project ideas plus step-by-step techniques that homeowners, renters, and beginner makers can use to transform thrift-store scores into high-end-looking pieces. Read on for sourcing tips, essential tools, repeatable finishes, troubleshooting, and a prioritized list of projects you can complete in an afternoon or over a weekend.
Table of Contents
- Why thrift flips work (and who they are for)
- Where to shop and what to look for
- Essential tools and supplies (compact kit for most projects)
- Quick safety and prep checklist
- How to decide which pieces are worth flipping
- 50 practical thrift flip project ideas (grouped by category)
- Five step-by-step techniques you must know
- Cleaning, repairing, and hidden fixes
- Creative faux techniques that elevate a thrift flip
- Common project pitfalls and how to avoid them
- Project planning checklist (use before you start)
- Low-cost staging ideas using thrift finds
- How to price your thrift flips for resale
- Examples of small detailed fixes
- Tools and product recommendations that save time
- 50 Thrift Flip Project Ideas — Quick Reference List
- Troubleshooting common issues
- What finishes should I use on thrifted wood to get a "designer" look?
- How do I remove gold or brass plating from thrifted hardware?
- Can I use non-food-safe stains on cutting boards?
- How do I stop tannin bleed on oak before painting?
- Is it worth refinishing pieces with veneer?
- Final tips and next steps
Why thrift flips work (and who they are for)
Thrift flips save money, reduce waste, and let you create unique pieces that reflect your style. They are ideal for:
- Budget-conscious decorators who want a curated look without retail prices.
- DIY beginners who want fast wins and visual improvements.
- Intermediate makers exploring furniture refinishing techniques.
- Anyone who prefers sustainable, personalized interiors.
Where to shop and what to look for
Not all thrift stores are the same. Here are practical tips to find the best candidates for DIY:
- Goodwill outlet / bins: Items priced by weight can be bargains for small, dense decor. Look for shape, hardware, and solid materials rather than surface finish.

Inside the outlet — bring a cart and scan the bins for solid pieces priced by weight. - Regular thrift stores: Scan shelves for high-quality bases—wood frames, solid legs, ceramic bases, and heavy glass.
- Estate sales & flea markets: Better odds for higher-quality furniture and vintage finds.
- Construction yards and fence companies: Free reclaimed wood is excellent for rustic projects and making new tops or frames.
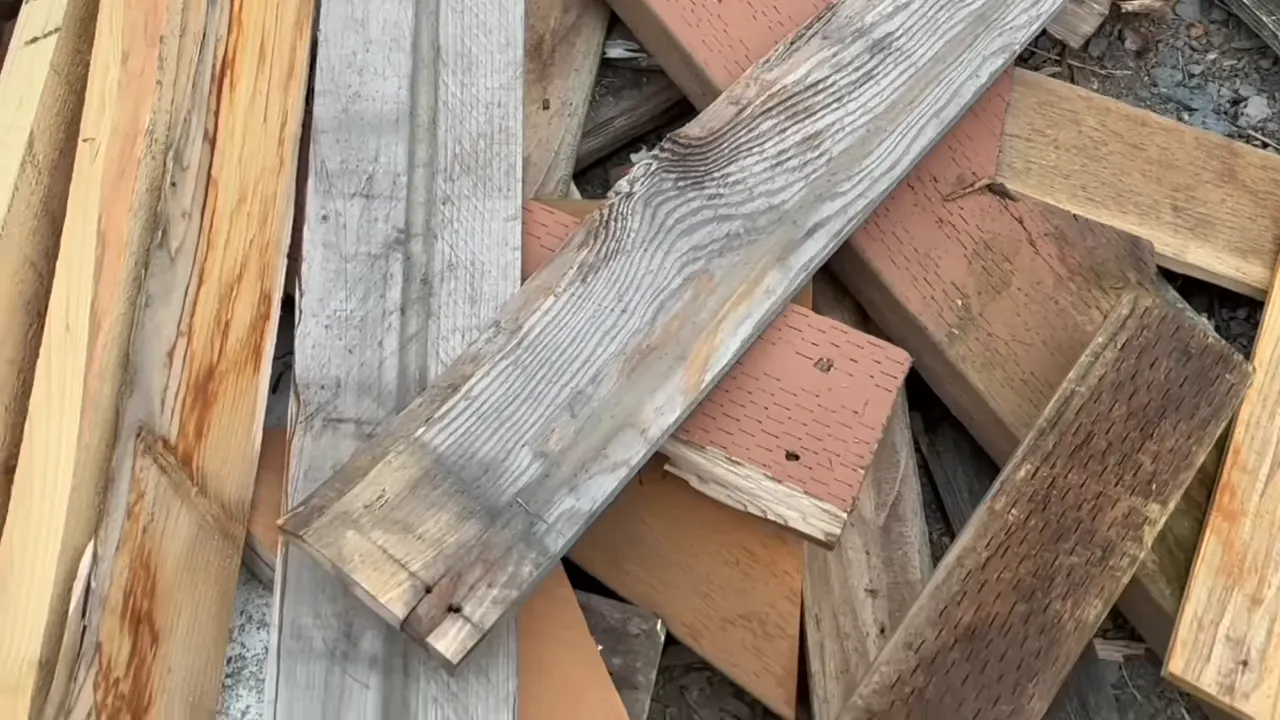
Reclaimed fence boards and scrap lumber from a construction yard — ideal for new tops and frames. - Timing: Go midweek or right after donation days. Use clearance tags and discount days to maximize savings.
Essential tools and supplies (compact kit for most projects)
Build a compact, multiuse kit that covers 90% of thrift flips without breaking the bank.
- Adhesives: E6000 for heavy-duty bonds; hot glue for temporary holds or fabric trims.
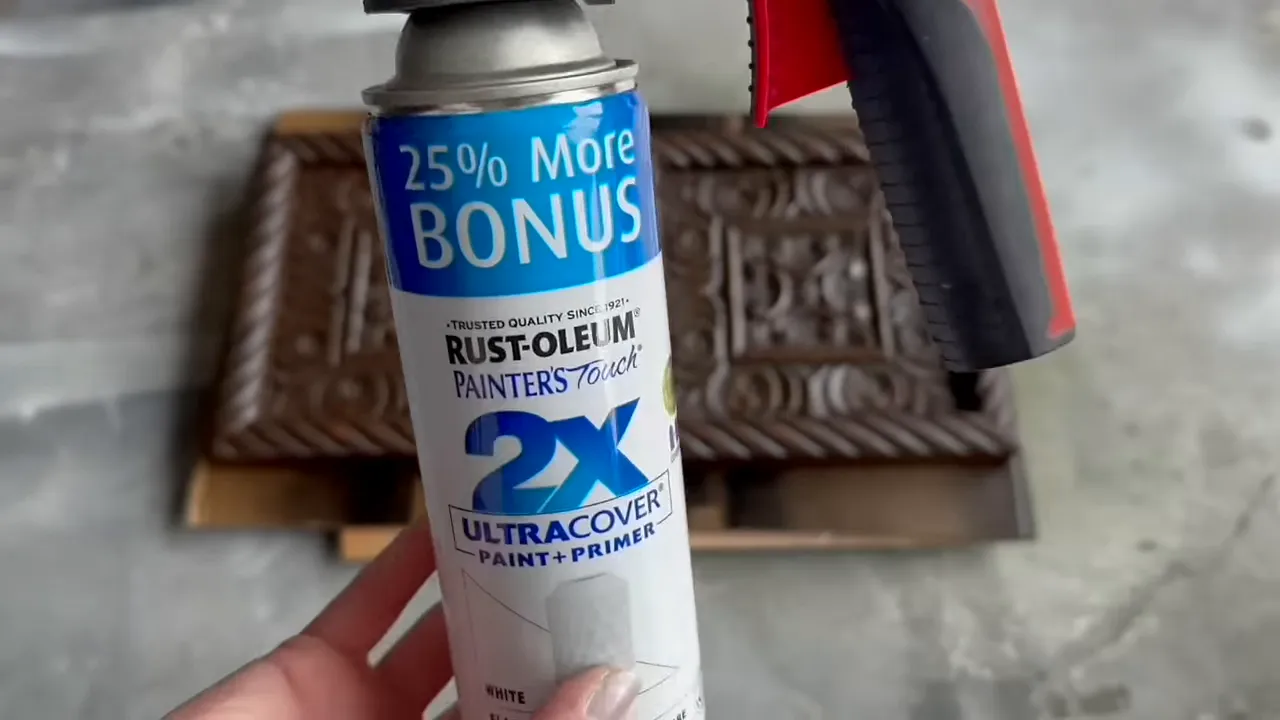
- Paints & primers: Chalk paint, flat spray paint, a good primer (shellac or tannin-blocking primer for oak).
- Finishes: White finishing wax, polyacrylic, wood oil (Walrus Oil) and paste wax.
- Strippers & cleaners: Citrus Strip, heavy-duty oven cleaner, rubbing alcohol. Use oven cleaner carefully for removing plated finishes.
- Tools: Electric sander (or sanding pads), wire brushes, household drill, needle-nose pliers, staple gun, clamps.
- Specialty: Stain pens, wood bleach kit, steel wool + vinegar for iron acetate DIY stain, lint shaver, and a portable upholstery cleaner (Bissell Little Green).

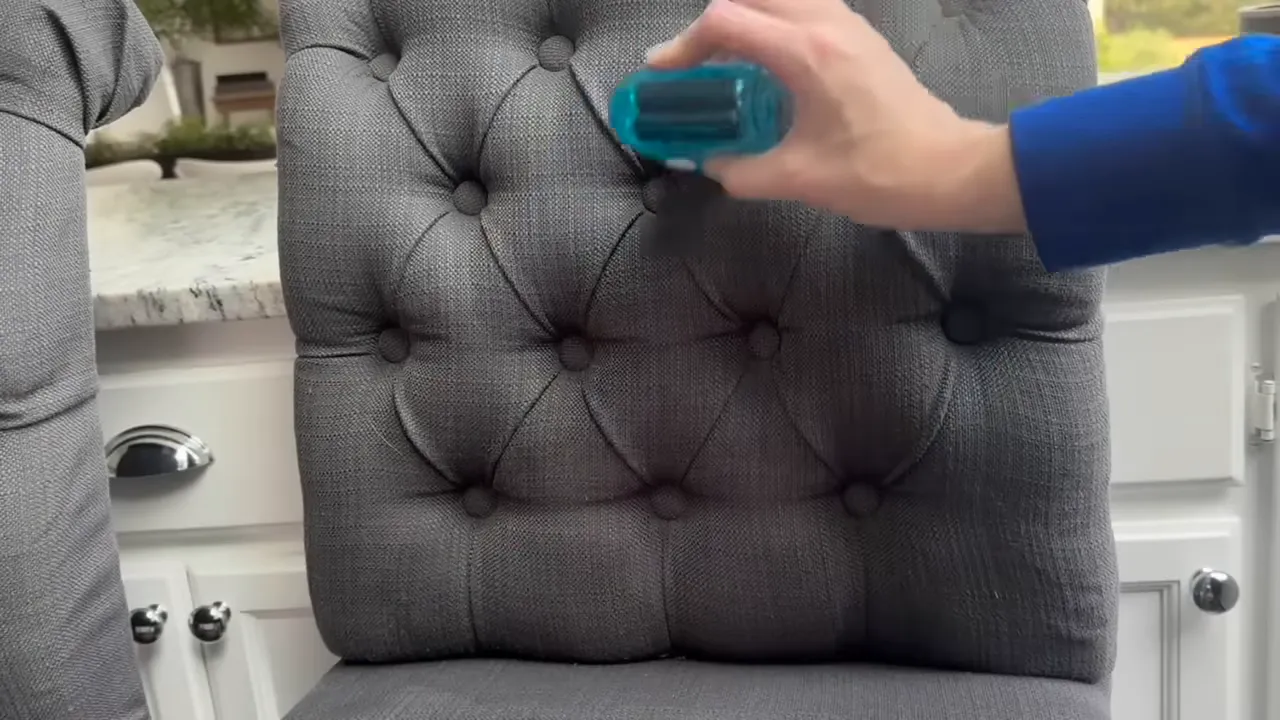
Using a portable upholstery cleaner to lift dirt from tufted chair fabric.
Quick safety and prep checklist
- Work in a well-ventilated area when using solvents or spray paint.
- Wear gloves and eye protection when stripping or sanding.
- Test finishes on an inconspicuous area first.
- Label and separate hardware to avoid losing screws and knobs.
- If refinishing pieces intended for food prep use appropriate food-safe finishes; decorative boards can use non-food-safe stains but avoid them for cutting surfaces.
How to decide which pieces are worth flipping
Use this simple checklist when evaluating a thrift find:
- Structure: Is the frame solid (no major rot or broken joints)?
- Materials: Solid wood, ceramic, brass, and thick glass are easier to elevate than particleboard or thin veneer.
- Hardware: Unique knobs and handles can be retained or refinished.
- Size & shape: Does it fit your space or staging needs?
- Repair complexity: Are needed repairs within your skillset?
50 practical thrift flip project ideas (grouped by category)
Each project includes a one-line overview, key supplies, and a quick difficulty/time estimate. These are intentionally short so you can scan for ideas that match your skill level.
Small decor & accents (easy; 15–60 minutes)
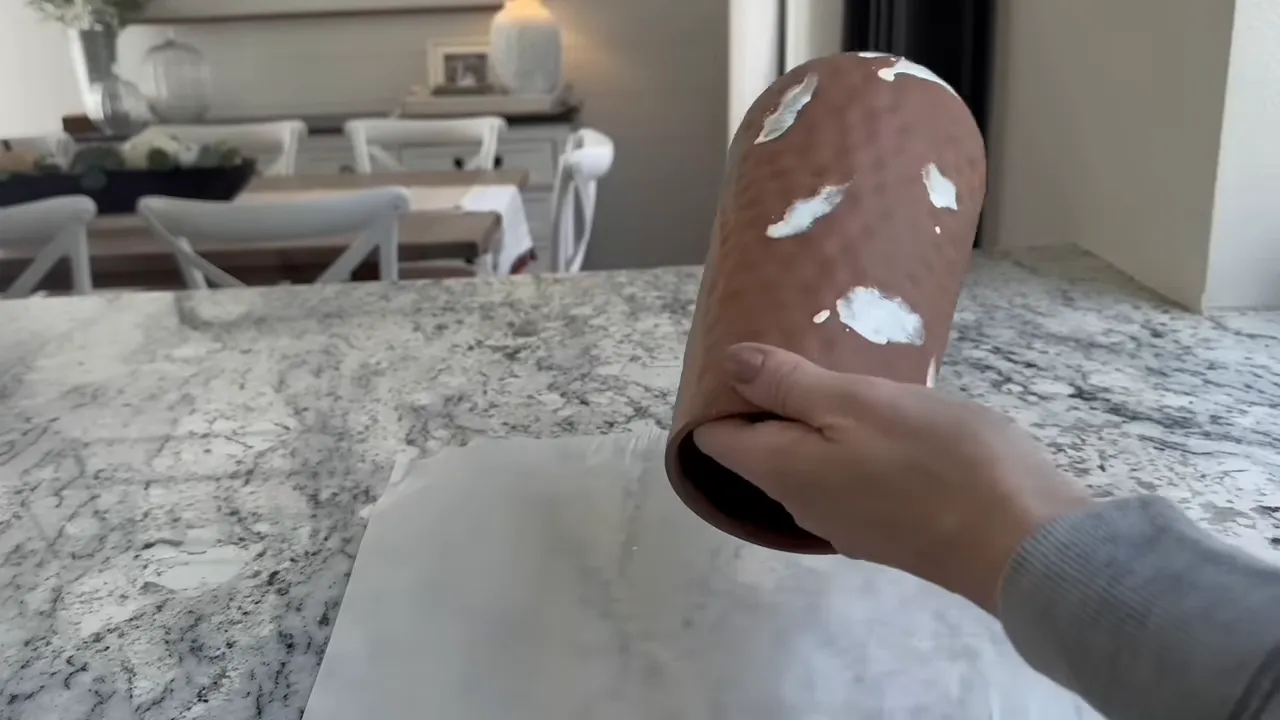
- Painted ceramic vase: Clean, sand glossy glaze (lightly), chalk paint + white wax. (Easy; 30m)
- Two-tone spray-painted vase: Base coat then taped half-spray for modern contrast. (Easy; 30–45m)
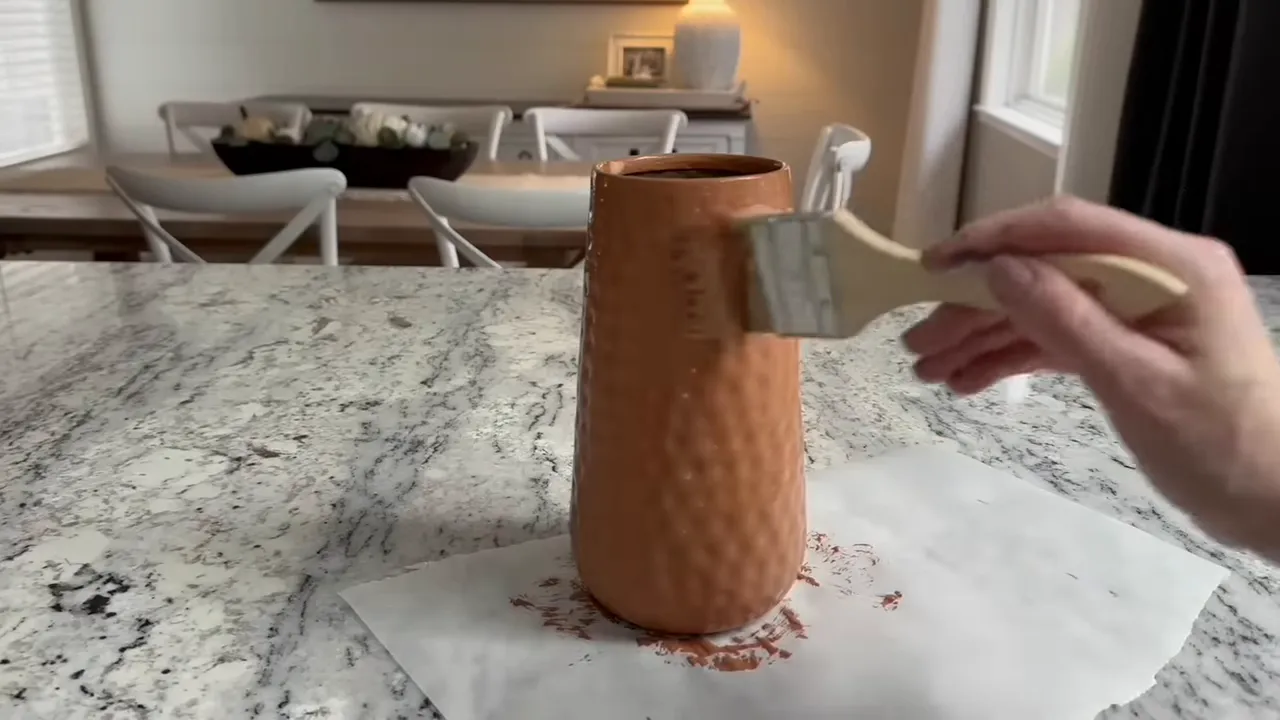
Brushing a base coat onto the vase to prepare for the two-tone finish. - Repurposed bowl planter: Drill drainage, drill or glue base, line with moss. (Easy; 45m)
- Bead garland from wooden beads: Feed wire through beads, twist ends, hang as curtain tiebacks or mantel accents. (Easy; 30m)
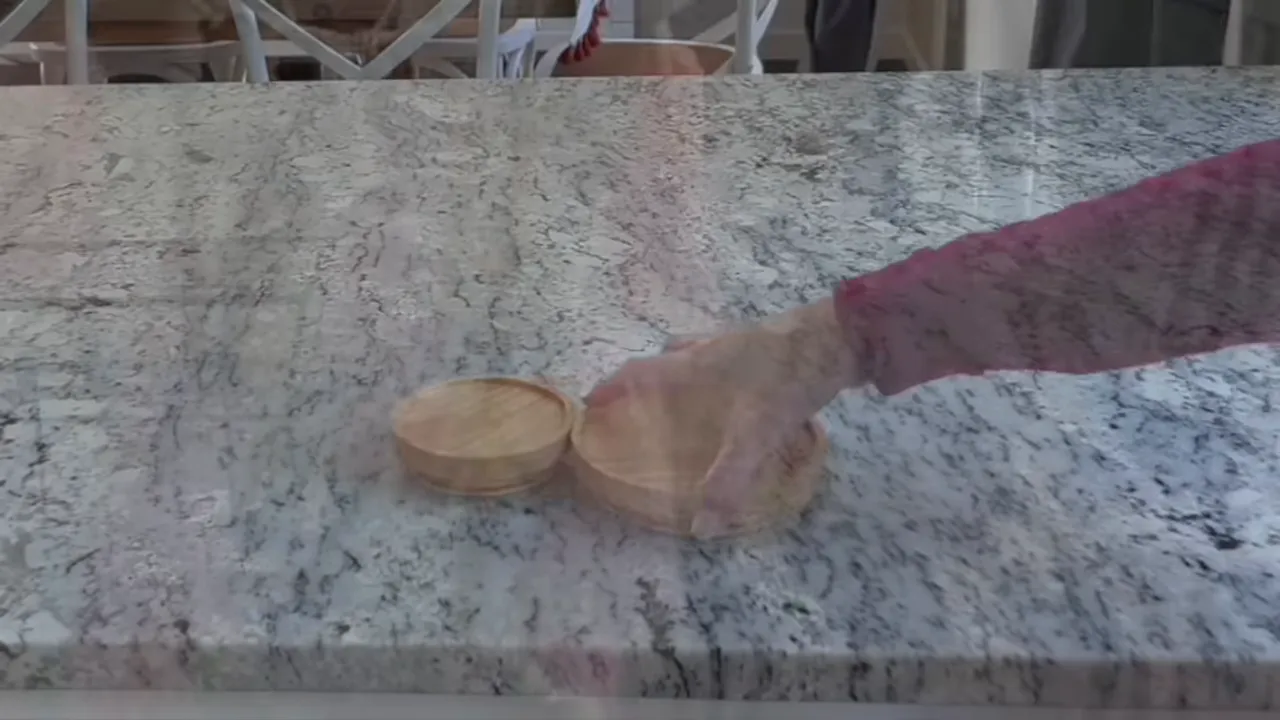
Laying out wooden discs on the counter to plan spacing for a bead garland. - Tiered tray from mismatched trays: Stack with glue and bolts or E6000; paint edge detailing. (Easy; 1–2h)
- Chalkboard frame: Fit a chalkboard sheet to an old frame using hot glue + E6000. (Easy; 45m)
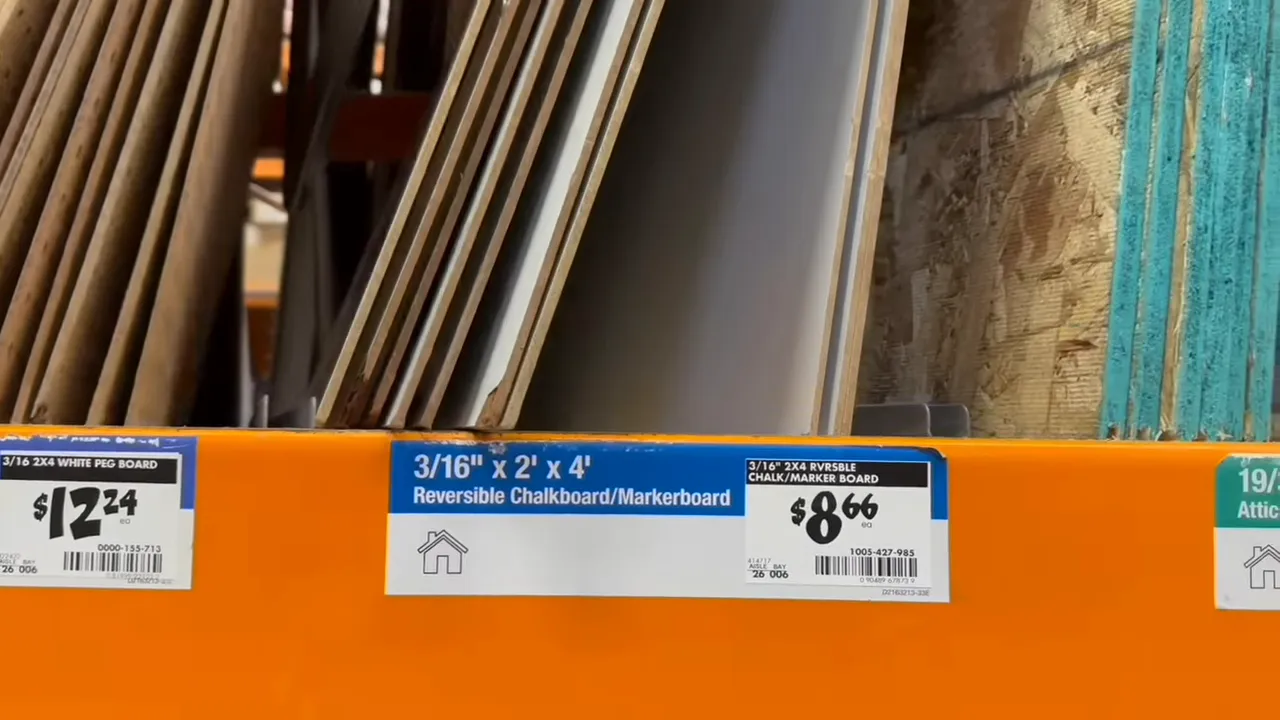
Pick up a reversible chalkboard/markerboard in the right size—perfect for fitting into an old frame.
Textiles & soft goods (easy–medium; 1–3 hours)
- Pillow refresh: Wash, remove pilling, replace cover, or dye. (Easy; 1h)
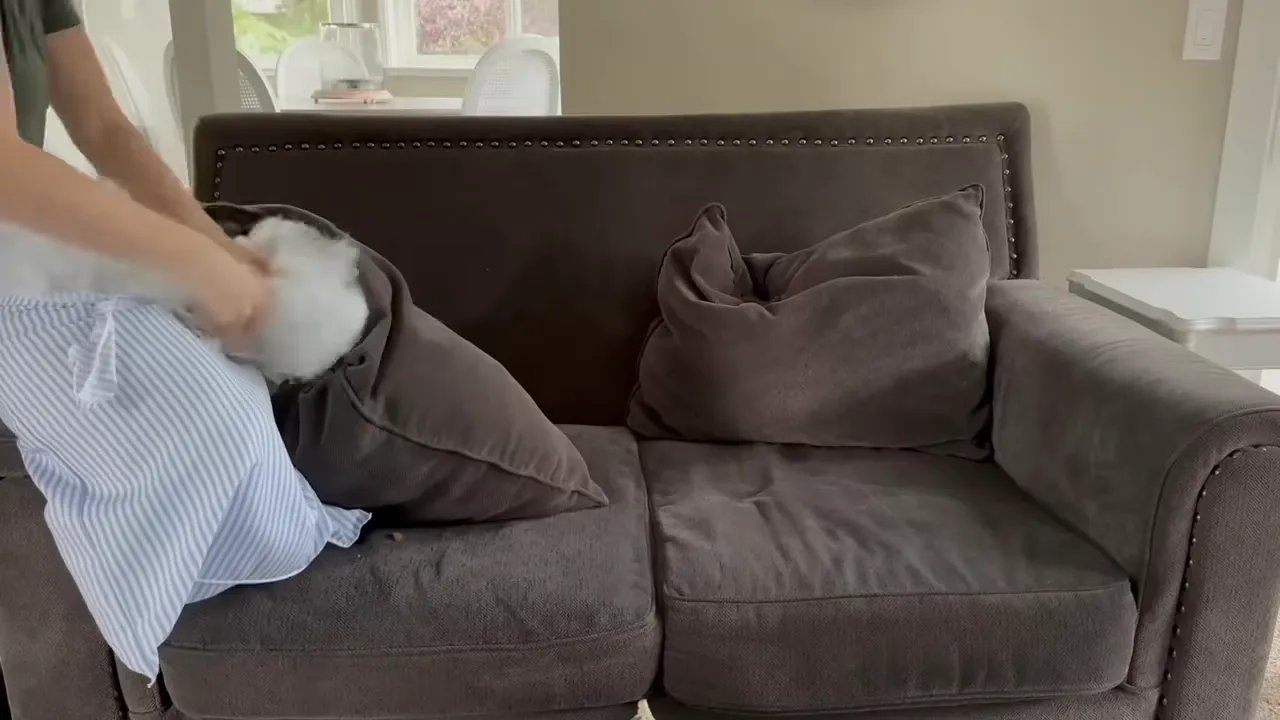
Restuffing a pillow insert to restore loft before replacing the cover. - Blanket repair: Fix small snags or trim, use as throw layered over furniture. (Easy; 30m)
- Rug patch or concealment: Use a welcome mat layered over snagged areas or fabric patches underneath. (Easy; 30m)
Storage & organization (easy–medium; 1–3 hours)
- Repurpose a hamper lid as wall art or tray: Seal, paint wash, and hang. (Easy; 1–2h)
- Canister lid hangers: String lids with wooden beads for a unique garland. (Easy; 1h)

Stringing wooden beads to make the bead garland. - Tiered plant stand repair: Replace broken tiers, glue and clamp, or convert to single-stand display. (Medium; 2–4h)
Small furniture & surfaces (medium; 2–8 hours)
- Refinish oak side table (cusing method): Strip finish, wire-brush grain, apply diluted paint wash into grain, wipe and top with white wax. (Medium; 4–8h)
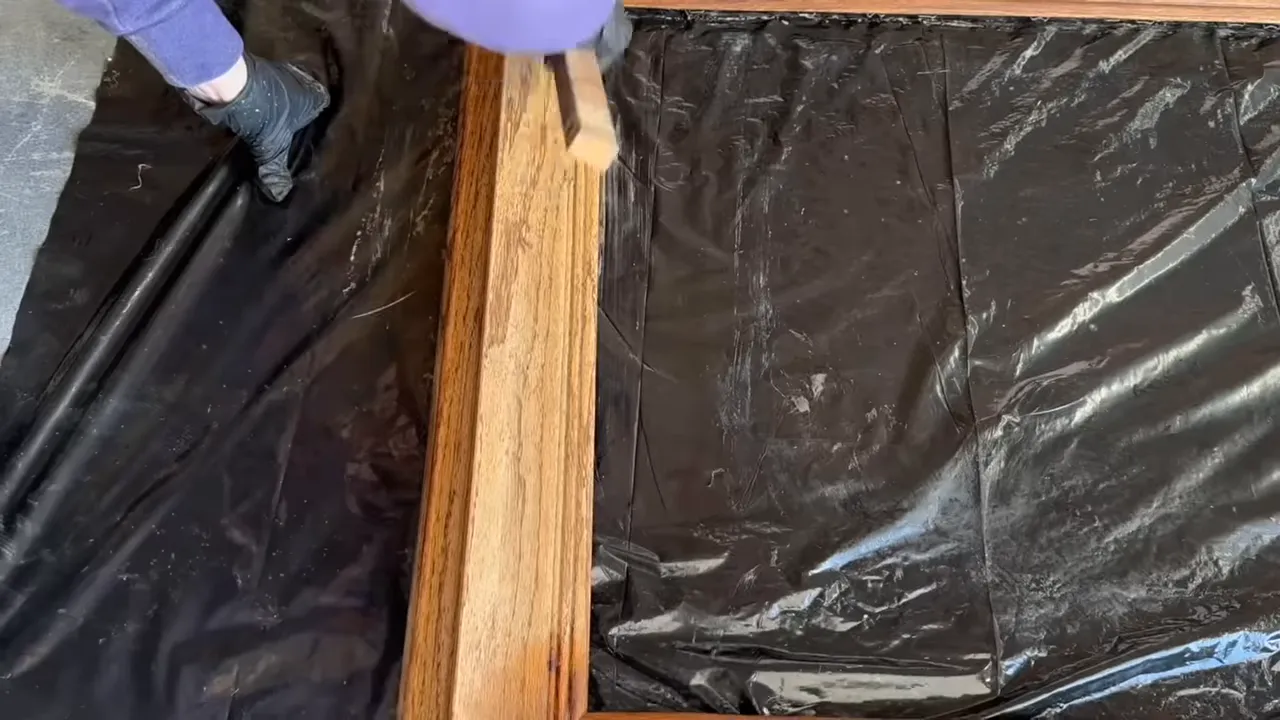
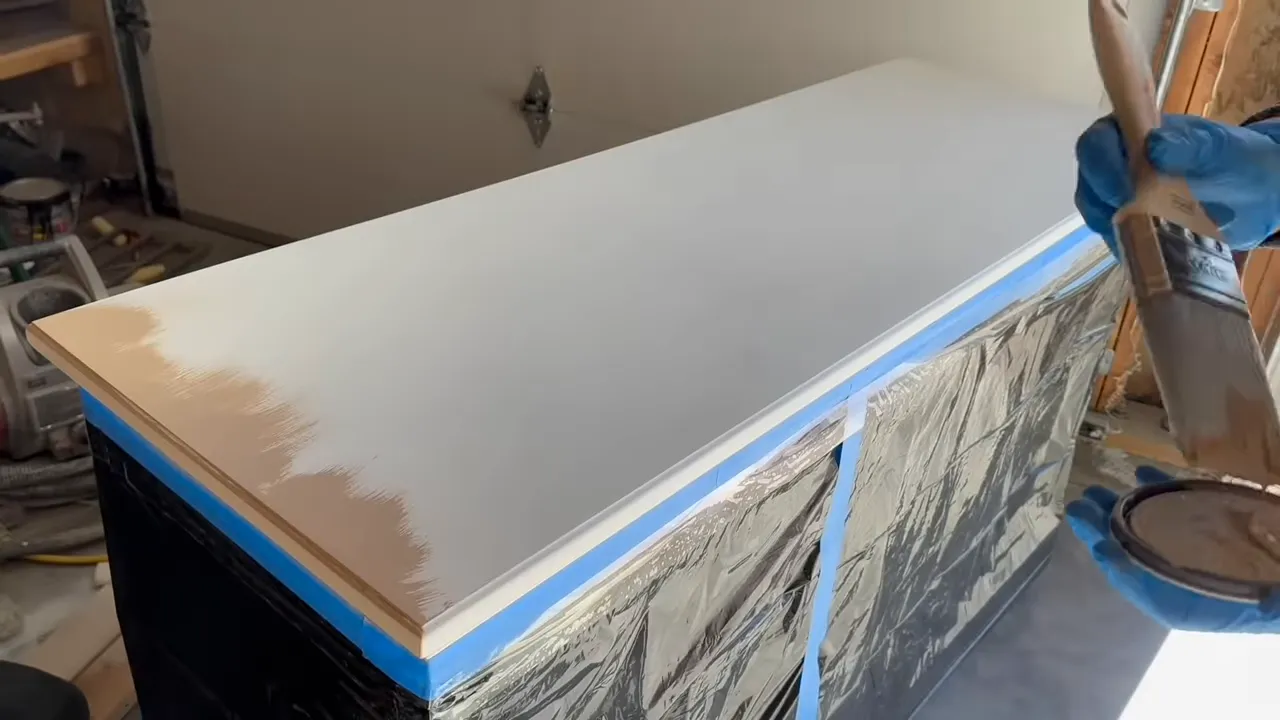
Deepening the oak grain with a hand brush as part of the cusing refinishing method. - Paint and glaze dresser top to mimic wood: Paint base, apply rugged tan, brush glaze to mimic grain, dry-brush natural twine, seal. (Medium; 4–6h)

Base coat applied and edges taped — ready for glaze and wood-grain brushing. - Stool refresh: Refinish frame, change seat upholstery or paint metal rings. (Medium; 2–4h)
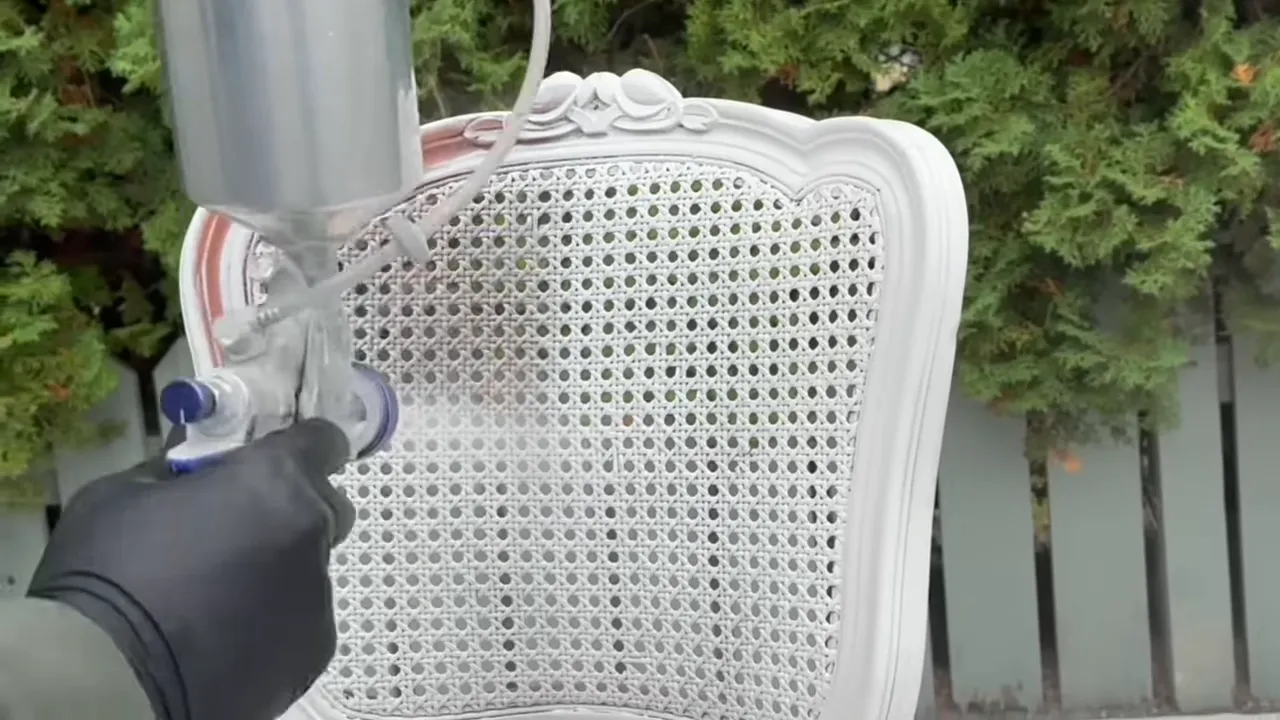
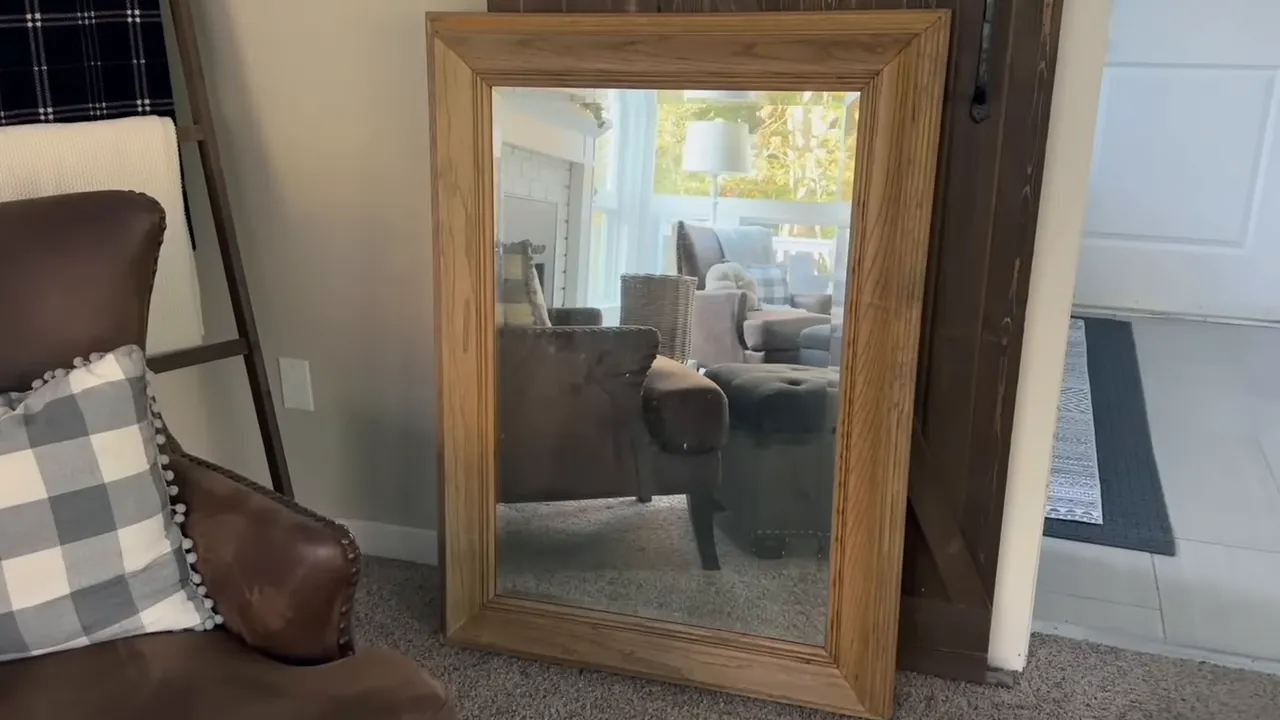
Spray-painting a caned seat and frame — the same spray technique used to refresh stools. - Mirror reframe: Remove mirror, strip finish or paint frame, reseal glass edges. (Medium; 3–6h)
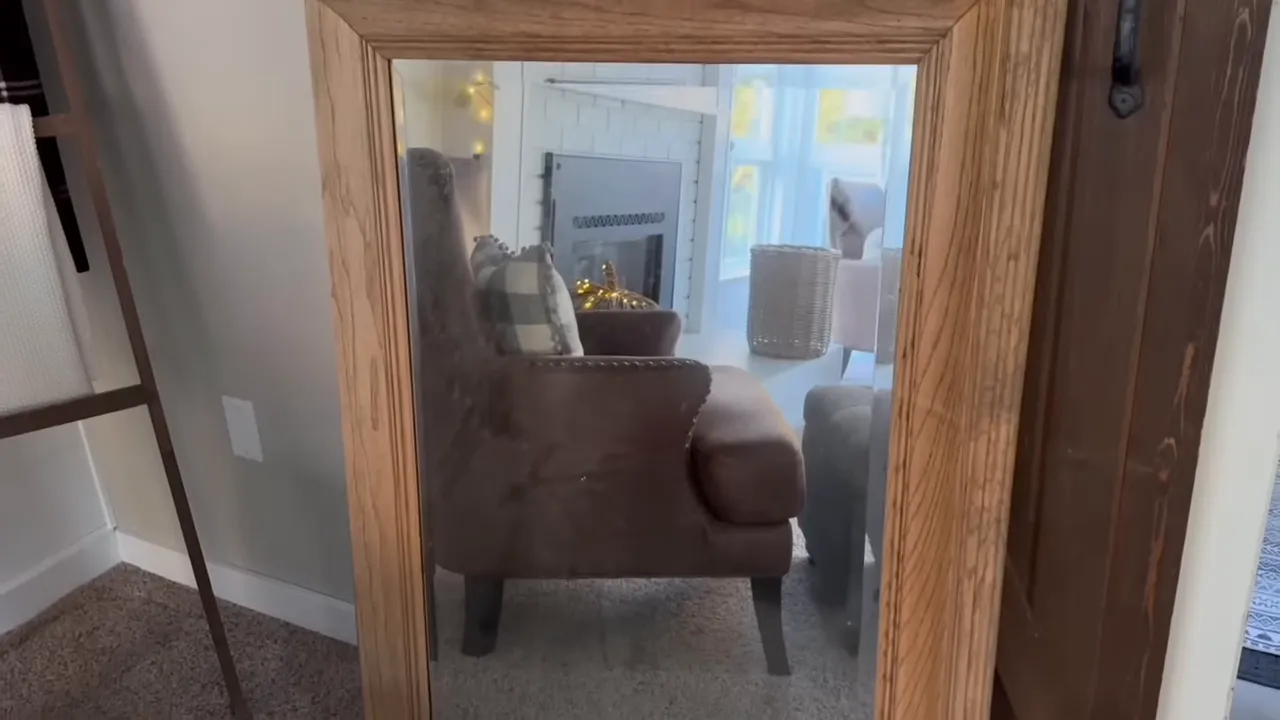
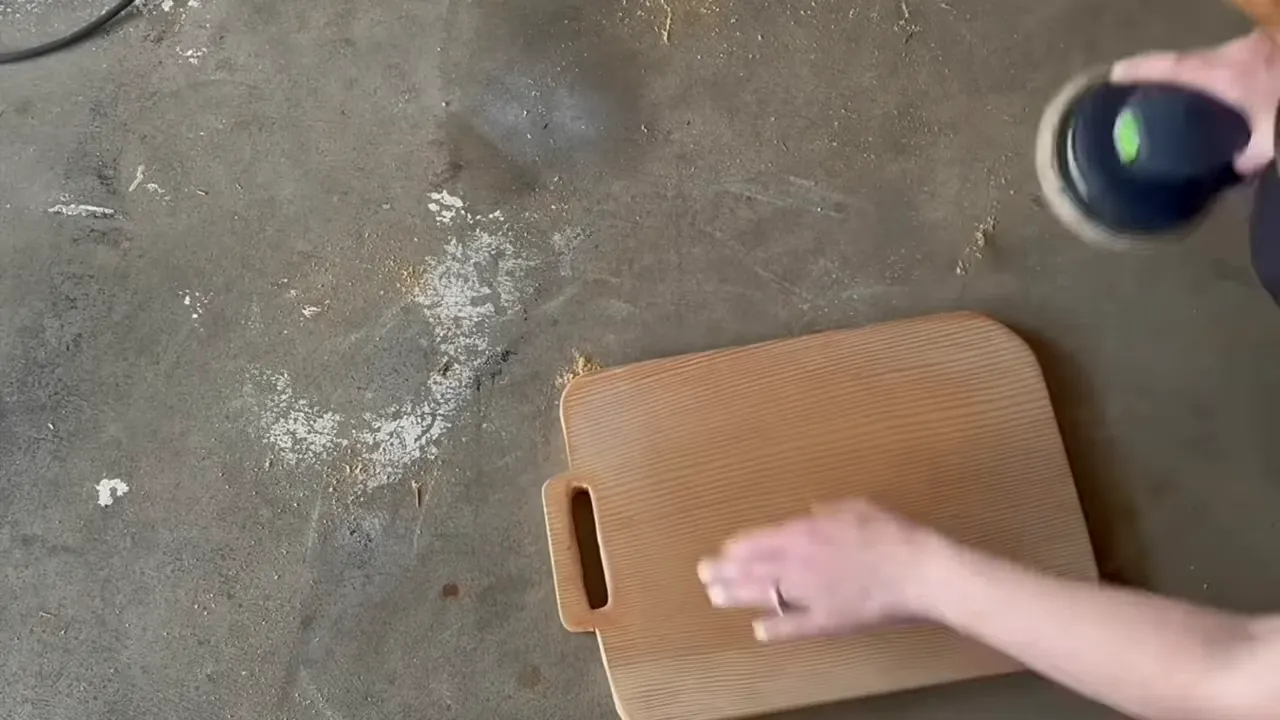
Close view of the wood frame and glass — inspect the edges and hardware before removing the mirror. - Antique-look cutting boards: Sand, stain two-tone sections, apply food-safe oil if using for prep. (Medium; 2–3h)
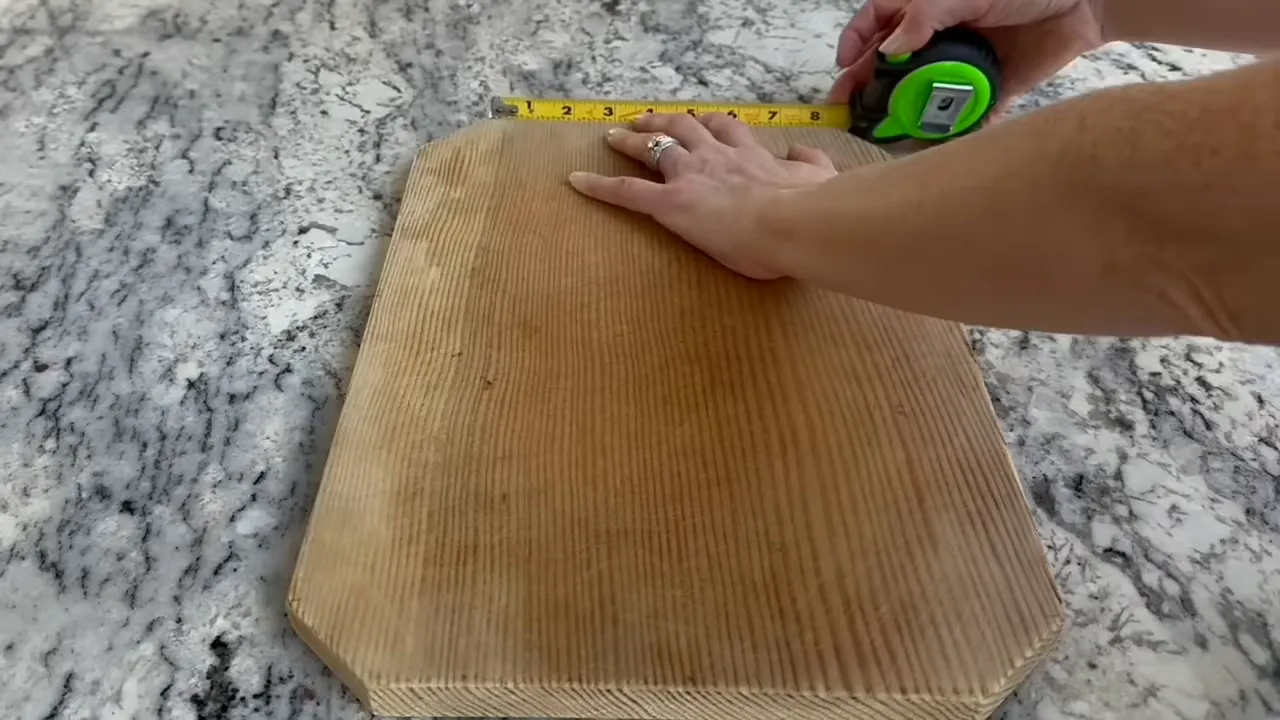
Measuring the wooden board to mark sections before creating a two-tone cutting board.
Large furniture & advanced projects (medium–advanced; 1–3 days)
- Refinish warped oak plant stand or tabletop: Attempt repair with clamps and glue; if irreparable, create a painted top and seal with shellac to block tannins. (Advanced; 1–3 days)
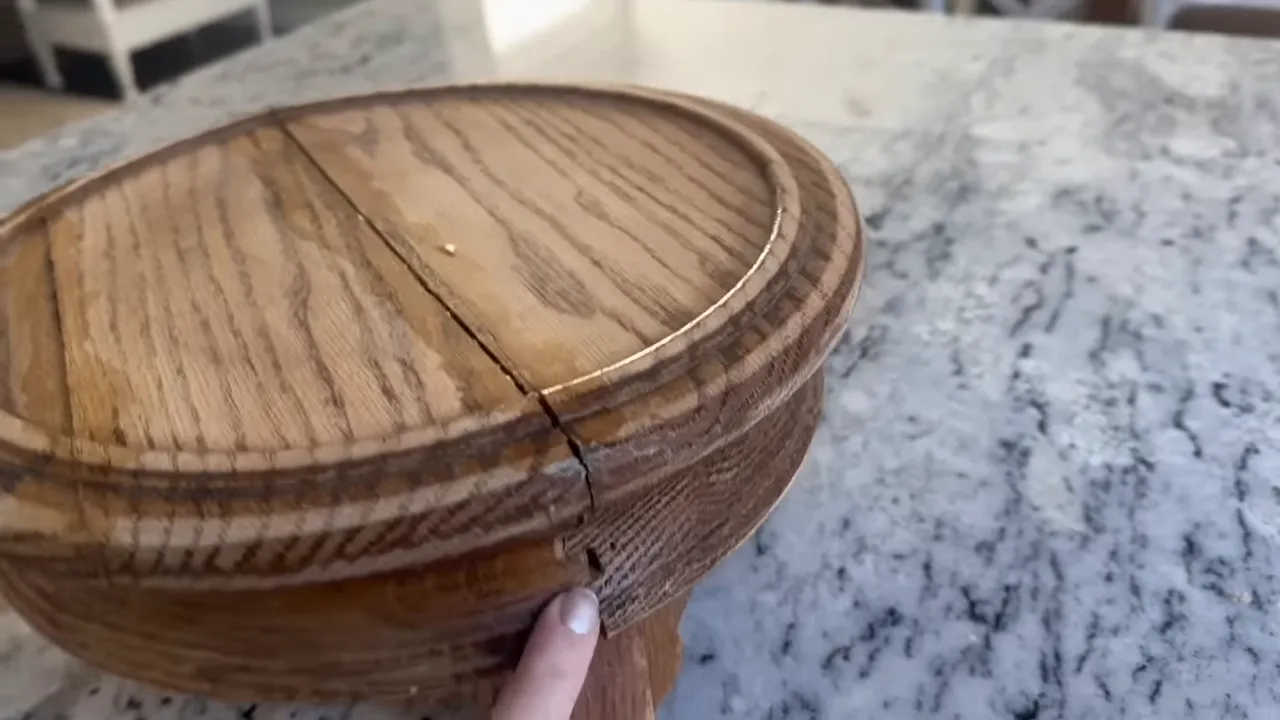
Cracked, warped oak plant-stand top — a candidate for clamp-and-glue repair or replacement. - Repurpose dresser into a credenza: Replace top with reclaimed wood, add new hardware, paint and glaze to mimic wood grain. (Advanced; 2–3 days)
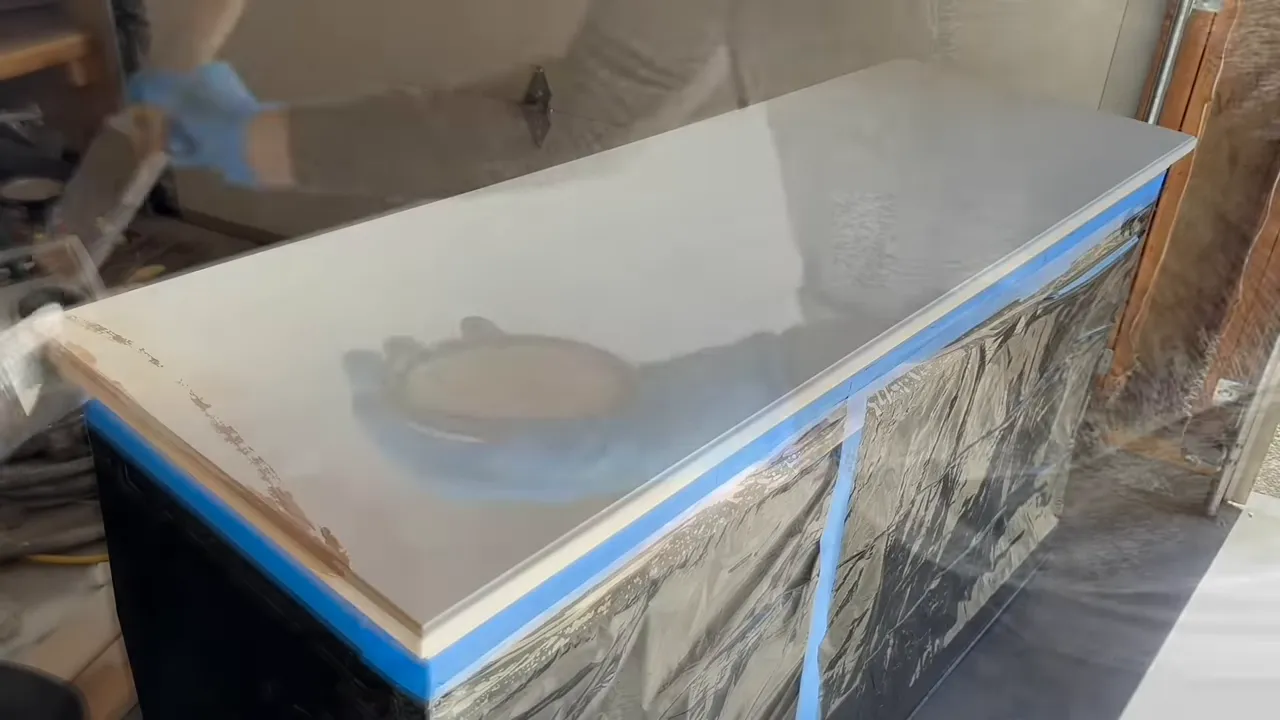
Taped and freshly painted dresser top ready for the credenza conversion. - Reupholster a cushion or chair seat: Remove old fabric, replace foam if needed, staple new fabric. (Advanced; 1–2 days)
Five step-by-step techniques you must know
Below are detailed, repeatable methods used across many thrift flips. Mastering these five will unlock most projects.
1. Stripping old finishes: Citrus Strip versus oven cleaner
When removing varnish, paint, or plated finishes you have two commonly used approaches:
- Citrus Strip (chemical stripper): Works reliably on stubborn finishes. Apply a thick coat, wrap with plastic to prevent drying, let sit per product instructions (often a few hours), then scrape and neutralize. Best for furniture with complex profiles where sanding would be time-consuming.
Wrap the piece in plastic to trap moisture and keep the stripper active. - Oven cleaner (alkaline method): Often used to remove gold/brass plated finishes or old varnish. Spray, let sit, rinse thoroughly. It can work but is less consistent than dedicated strip solutions for wood finishes. Useful for metal plating removal when combined with scrubbing.
Scrubbing plated hardware with a gloved hand to remove gold/brass finish before refinishing.
Safety tips: use gloves, goggles, and work outdoors or in a ventilated space. Always test on a hidden area. After stripping, sand smooth and apply your finish of choice.
2. "Cusing" oak to accentuate grain
The cusing method makes dated oak pieces look intentionally worn and textured:
- Strip the existing finish (Citrus Strip is effective).
- Use wire brushes to follow the wood grain and deepen the grain lines. Work with rather than across the grain.
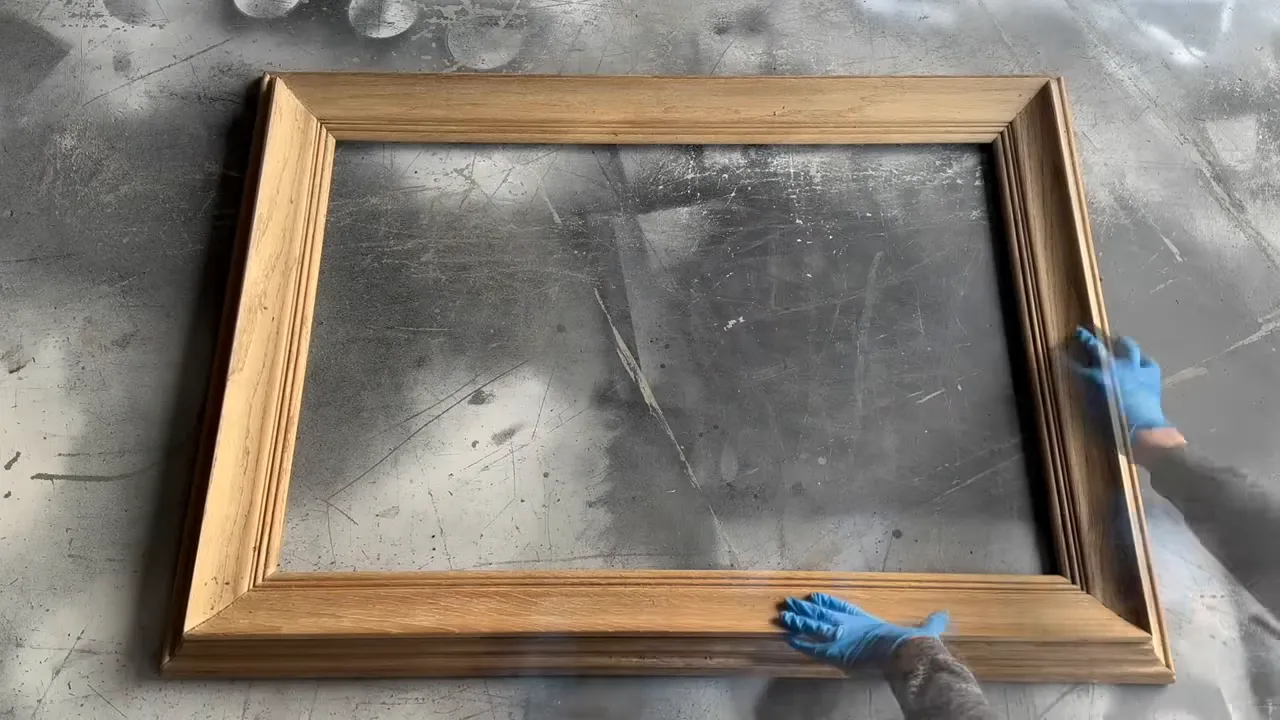
Positioning the oak frame for hand work — ready to deepen the grain. - Make a thinned paint wash (watered-down paint in a suitable color). Apply so the paint sinks into the grain.
- Before the wash fully dries, wipe the surface with a rag to remove excess, leaving color concentrated in the grain.
- Seal with a finish. To avoid reviving orange oak tones, finish with a white finishing wax or a light protective topcoat instead of a clear poly if you want a softer look.
Results: grain is emphasized, piece reads more rustic or artisan-made. This method works best on oak and other open-grain woods.
3. Bleaching wood for a washed look
Wood bleaching is a simple way to lighten dark woods or create a Scandinavian look.
- Choose an appropriate wood bleach kit (two-part kits are common). Follow package steps: apply Part A and allow to penetrate, then apply Part B as instructed.
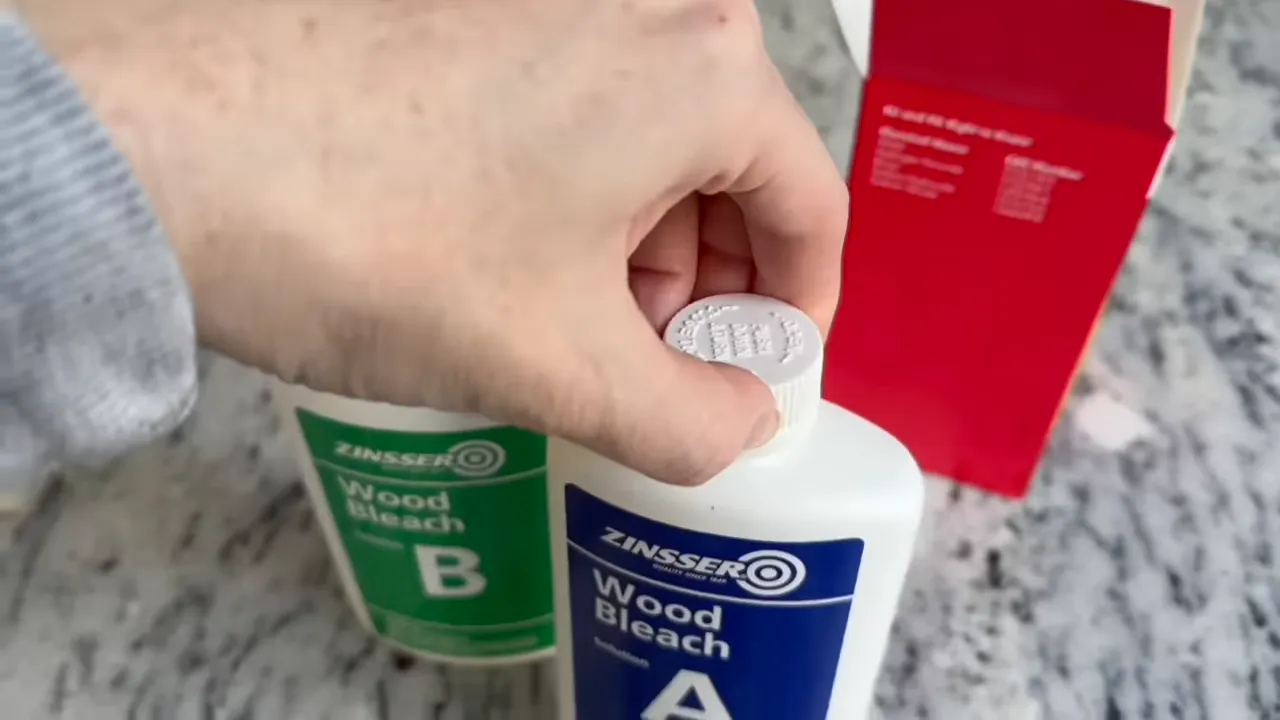
Part A of the two-part wood bleach kit — the bottle you apply first to begin lightening wood. - Repeat the process until you reach desired lightening. Rinse and neutralize as directed and let the wood fully dry overnight.
- Finish with a white finishing wax or clear topcoat to protect the surface.
Notes: bleaching works well on softwoods and cedar. Always test on a scrap or hidden area to anticipate color change.
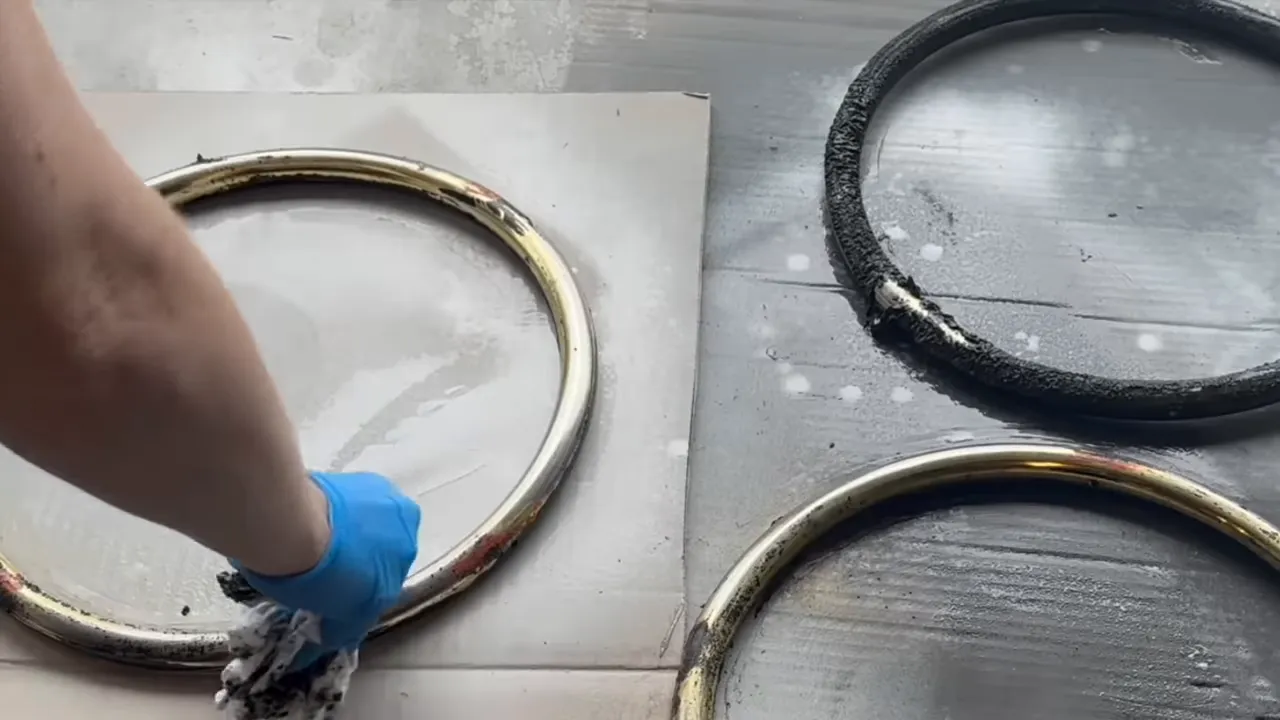
4. Removing plated brass/gold from hardware
Gold or brass-plated parts can be stripped to a more modern finish or repainted.
- Work outdoors with gloves. Spray a heavy-duty oven cleaner and allow it to sit; the plating layer loosens and can often be wiped or scrubbed away.

Scrubbing plated rings with gloves and a rag after applying cleaner — removing the gold/brass finish. - If oven cleaner is insufficient, use a commercial metal stripper recommended for the plating type, or replace hardware entirely.
- Once the plating is removed, sand and polish the underlying metal or paint with metal primer and finish coat.
Always test one piece first. Oven cleaner can discolor some bases; rinse thoroughly and neutralize as needed.
5. Reshaping baskets and woven items
Restore a squashed or misshapen basket using warm water and form-holding:
- Submerge the basket in warm water until the fibers feel pliable.
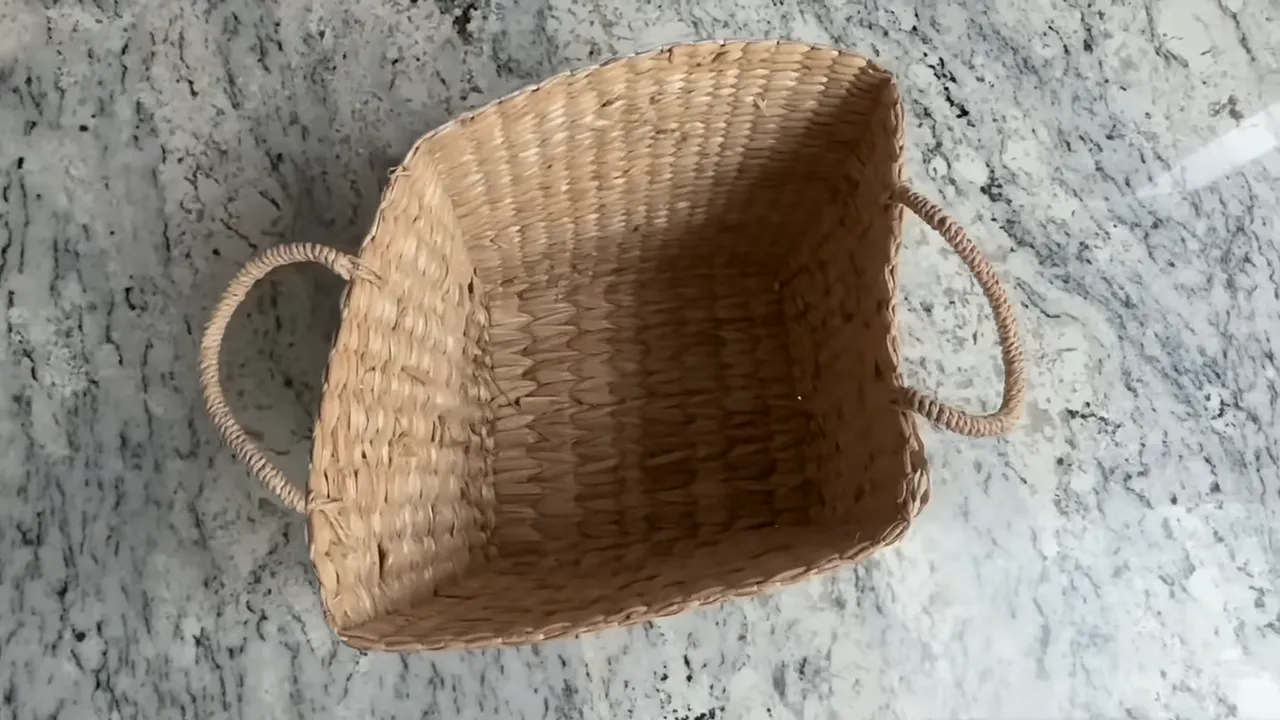
Top-down view into the basket showing the interior and handles — ready to be reshaped over a form. - Remove and set the basket over a form that matches the desired shape—this could be a bowl, container, or rolled towel.
- Allow to dry fully in the sun or in front of a fan to retain the new shape.
This technique works best on softer weave materials and natural fibers. Rigid or tightly woven baskets may not respond as well.
Cleaning, repairing, and hidden fixes
A few cleaning and repair methods will make thrift finds look cared-for and high-quality.
Cleaning upholstery and removing pilling
Use a portable upholstery cleaner to remove deeper dirt and stains, then a lint shaver to remove pilling.
- Mix a mild detergent or use an upholstery solution; extract with a small carpet cleaner like the Bissell Little Green for concentrated stains.
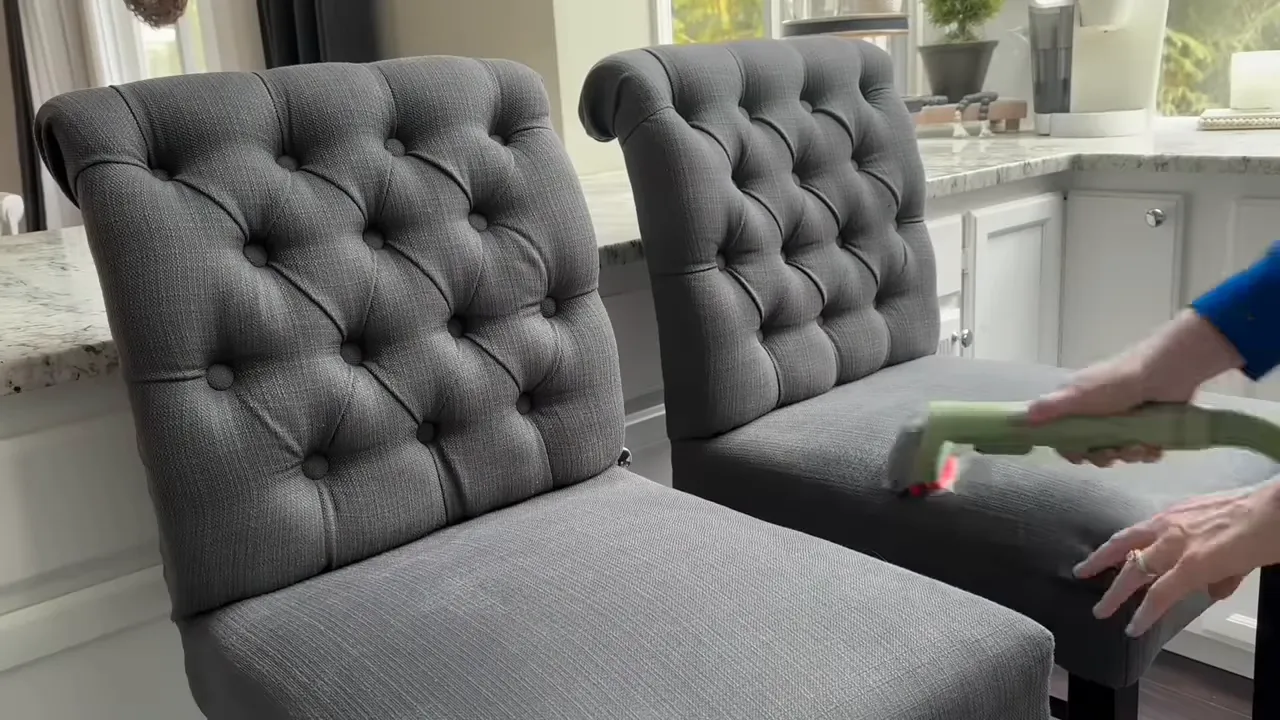
Using a handheld upholstery cleaner to lift dirt from tufted chair fabric. - After cleaning and drying, use a fabric shaver to remove pills for a smoother look.
Using a fabric shaver to remove pilling from a tufted chair after cleaning. - For stubborn stains, a diluted bleach or oxygen-based cleaner may work on colorfast fabrics—test first in an inconspicuous spot.
Fixing joins and loose frames
To repair frames or furniture joints:
- Disassemble if possible. Apply wood glue into joint areas and clamp tightly for 24 hours.
- When full disassembly is not practical, use wood filler to stabilize and hide separation lines, then sand and touch up paint.

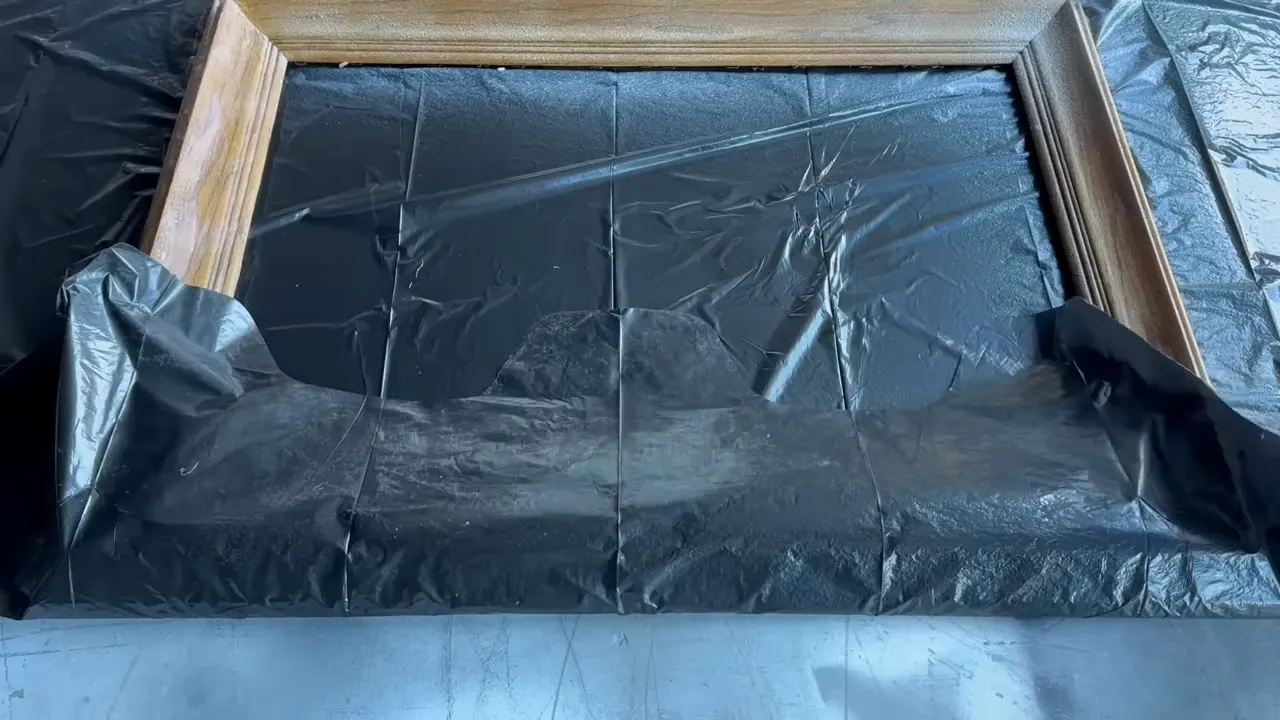
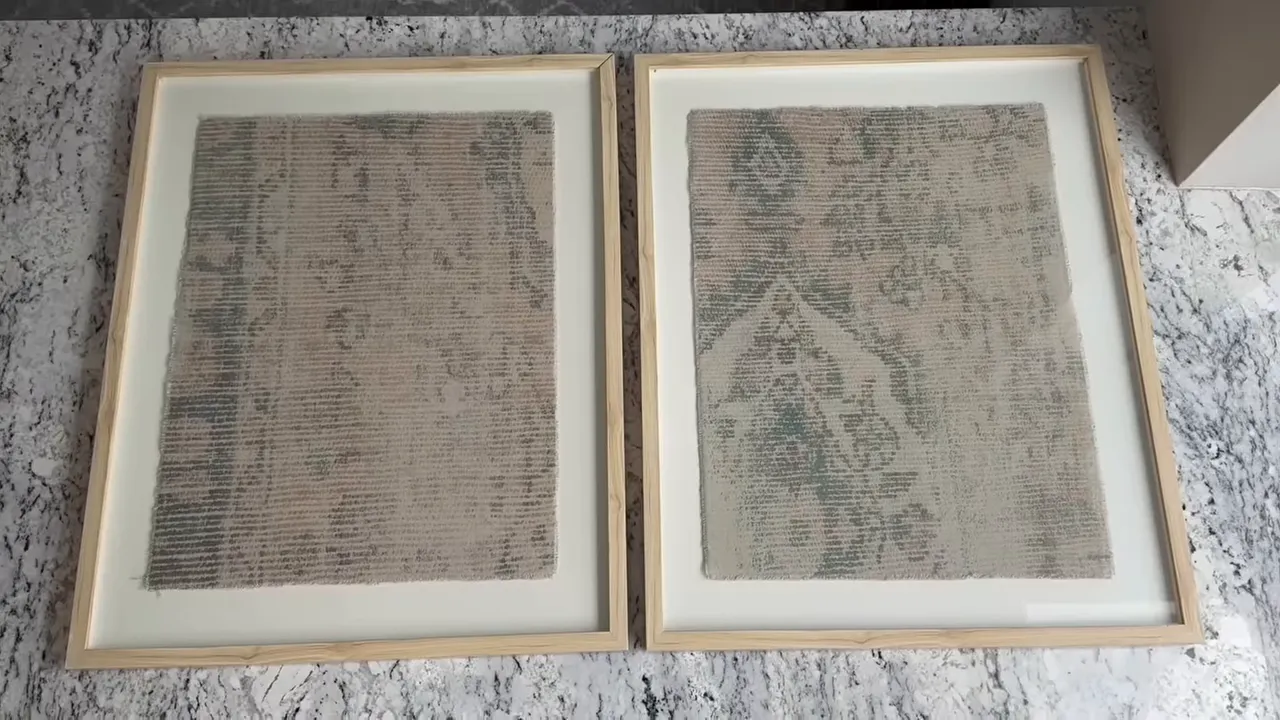
Framed textile panels laid flat — inspect corners and seams before injecting glue and clamping. - For veneer lifting, use wood glue under the veneer and apply pressure with a heavy book or clamp until dry.
Hiding or fixing stains and tannin bleed
Oak and other tannin-rich woods can bleed through light paint with time. Prevent this:
- Seal tannin-prone wood with a shellac-based primer or pure shellac before painting. This blocks tannin migration.
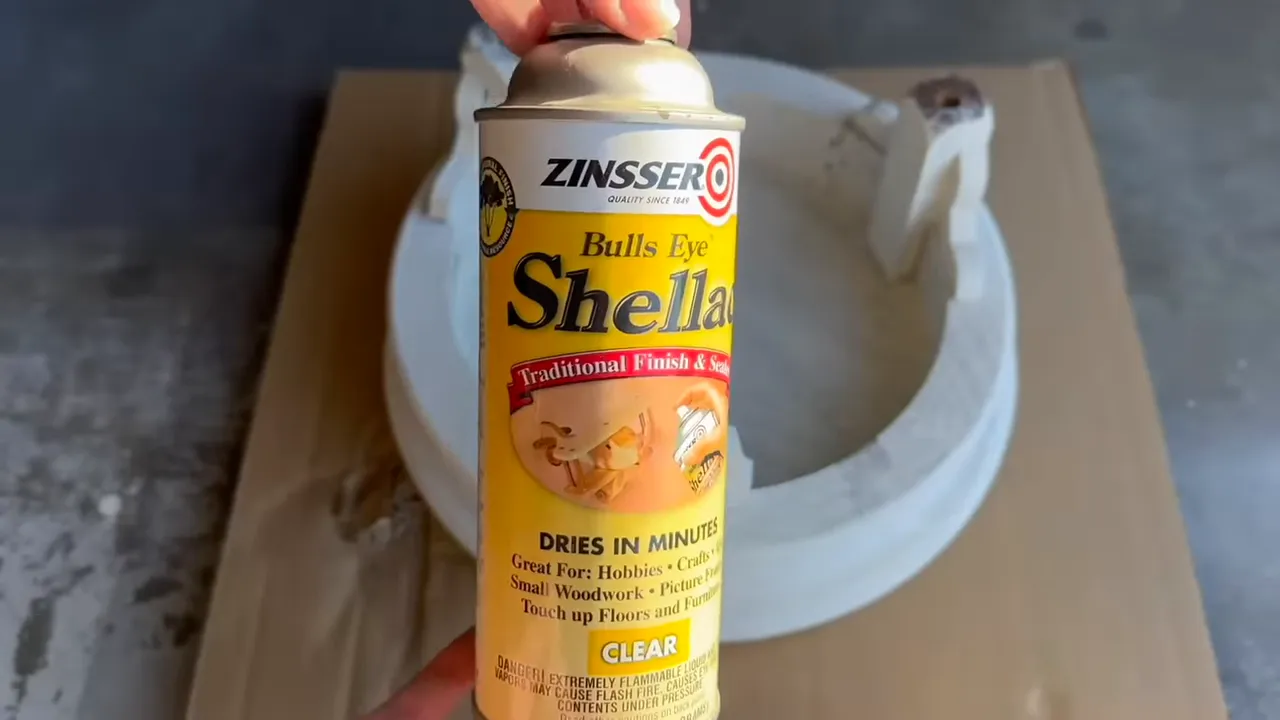
Zinsser Bulls Eye Shellac — the shellac sealer to block tannin bleed. - If tannin bleed occurs under a new paint job, spot-sand to raw wood, apply shellac, then repaint.
Creative faux techniques that elevate a thrift flip
These techniques add perceived value without expensive materials.
Two-color cutting boards and decorative boards
Simulate antique cutting boards by creating two-toned stains or painting striped segments. Use food-safe oil if the board will contact food.
Decorative glaze to mimic wood grain
Paint a base color, then apply a tinted glaze and drag a stiff deck brush across the glaze to simulate wood grain. Dry-brush a lighter shade for highlights and seal with polyacrylic.
Tape and spatter effects for pottery
Create layered color effects on ceramic vases by painting the entire piece, taping an area, and spraying or hand-staining another color. Add watered-down white paint drips for an artisan finish.
Common project pitfalls and how to avoid them
Being aware of common mistakes will save time and frustration.
- Not testing products: Test paint, stripper, and cleaners on hidden areas to avoid unexpected reactions.
- Skipping ventilation and PPE: Chemical strippers, sprays, and strong cleaners require ventilation, gloves, and eye protection.
- Ignoring substrate: Particleboard, laminate, and thin veneer are harder to refinish. Focus on solid wood or ceramic for best results.
- Forgetting to seal tannin-rich woods: Always use shellac or a tannin-blocking primer when painting oak or cedar to prevent bleed-through.
- Rushing repair steps: Glue and finish cures take time. Clamps and adequate dry time yield stronger repairs and cleaner results.
Project planning checklist (use before you start)
- Confirm dimensions and whether the piece fits the intended space.
- Inventory needed tools, finishes, and replacement parts.
- Set aside adequate workspace, ventilation, and drying time.
- Test finishes on a small area and allow full cure before heavy use.
- Budget for replacement hardware, screws, or foam if reupholstering.
Low-cost staging ideas using thrift finds
Staging helps sell a room or refresh your space with minimal spend. Combine thrifted items for a layered, curated look:
- Stack a couple of decorative books, topped with a small vase or bowl, on a salvaged tray for a styled coffee table.
- Layer rugs to disguise damaged flooring and add texture—short-term solution for rental styling.
- Use a chalkboard frame to display seasonal messages or menus in a kitchen or entryway.
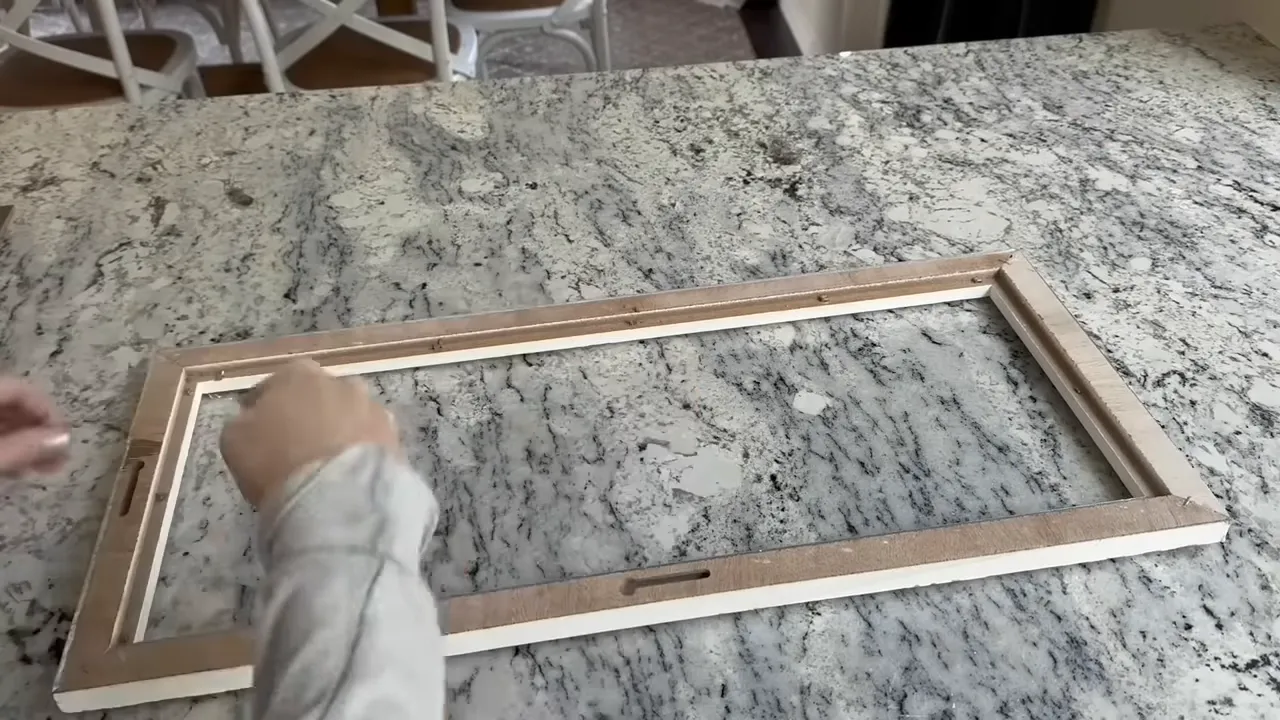
Prepping an old frame on the counter — ready to fit a chalkboard panel. - Create a cohesive vignette by repeating one material (rattan, wood, brass) across multiple items.
How to price your thrift flips for resale
If you plan to sell finished pieces, use this simple formula:
- Cost of materials + purchase price = base cost.
- Add labor (hours x hourly rate you expect to earn).
- Factor in platform fees and shipping if selling online.
- Check local market comparables for similar finished items and adjust price for uniqueness and finish quality.
Examples of small detailed fixes
Short demonstrations you can complete with minimal tools:
- Remove Sharpie from wood: Try rubbing alcohol or a magic eraser; sand lightly if the marker is stubborn.
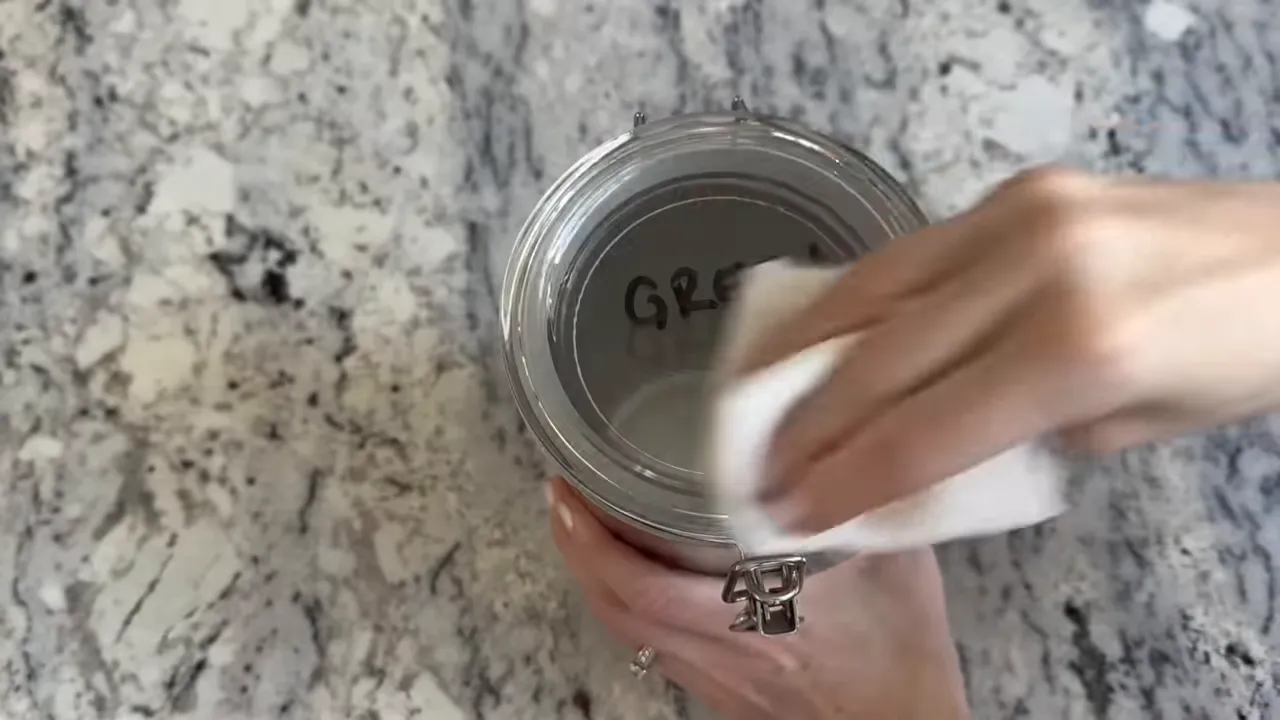
Wiping a Sharpie-marked jar with a cloth to remove the marker — demonstrates the cleaning action to try (use rubbing alcohol or a magic eraser). - Repair frame separation: Inject wood glue into seam, clamp, and fill gaps with stainable wood filler.
Inspect the frame edges and joints for gaps before injecting glue and clamping. - Replace broken mirror backing: Tape mirror to protect edge, apply new backing board, and seal frame with finish after repair.
Full oak-framed mirror leaning ready for repair or backing replacement.
Tools and product recommendations that save time
- Spray painting comfort handle: Reduces hand fatigue during repeated sprays. Useful for larger batches of small items.
Comfort-handle clipped to a spray can — reduces hand fatigue for repeated spray painting. - Wire brush & sanding attachments: Great for deepening grain and quickly removing finishes from profiled wood.
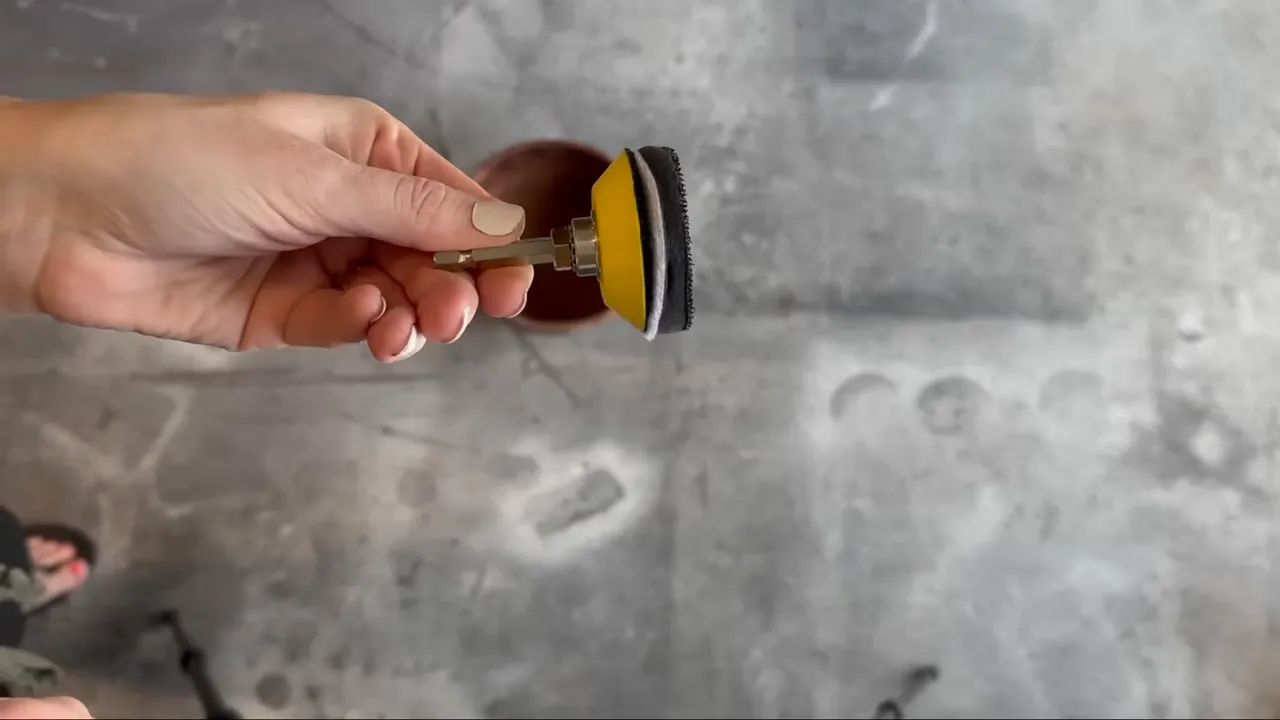
Drill-backed sanding pad attachment — a common sanding/polishing accessory for small refinishing jobs. - E6000 with a dispensing clip: Precise for bonding hardware and mixed-material projects.
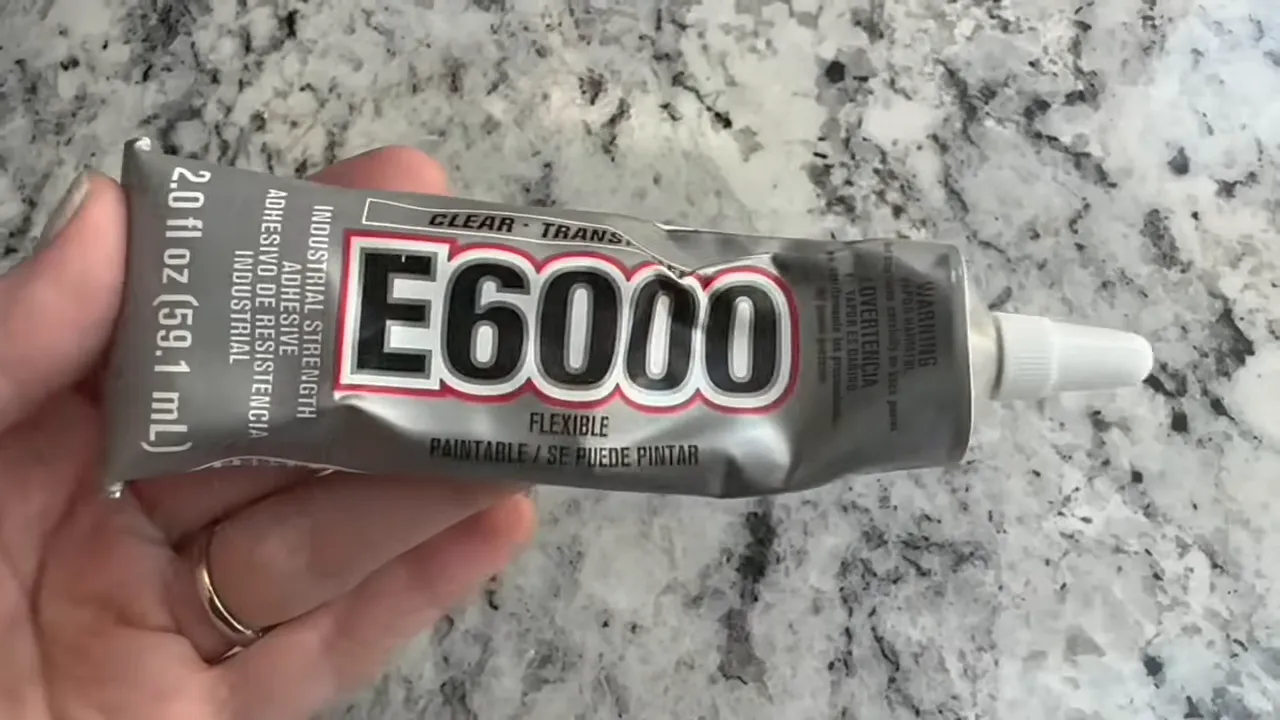
E6000 adhesive tube — a strong, flexible glue we recommend for bonding hardware and mixed-material projects.
50 Thrift Flip Project Ideas — Quick Reference List
One-line list you can skim when deciding what to make next.
- Painted ceramic vase
- Two-tone spray vase
- Repurposed bowl planter
- Bead garland
- Tiered serving tray
- Chalkboard frame
- Decorative cutting board (two-tone)
- Antique-look serving board
- Wood bowl refresh
- Repainted stools
- Mirror frame refresh
- Dresser-to-credenza conversion
- Refinished oak side table (cusing)
- Painted lamp base
- Refinished candlestick holders
- Fabric-covered pillow
- Blanket repair and styling
- Layered rugs
- Repurposed hamper lid wall art
- Wood bead curtain tiebacks
- Faux floral arrangements
- Basket reshaping
- Reclaimed-wood shelf
- Small planter stand from vase base
- Decorative glazed tabletop
- DIY iron-acetate-stained wood sign
- Chalk-painted picture frame
- Rustic wooden bowl enhancement
- Food-safe oiled cutting board (for display)
- Reclaimed fence board headboard
- Paint-washed loveseat cushion refresh
- Repaired and painted plant stand
- Repurposed candle holder centerpiece
- DIY hanging basket planter
- Antique-look mirror with distressed paint
- Painted canisters with new lids
- Decorative bead-wrapped canister
- Wood tray with new pulls
- Rebuilt nightstand with new hardware
- Refinished bookshelf back with wallpaper
- Simple reupholstered bench seat
- Painted coat rack from reclaimed wood
- Repurposed board into kids' play table
- Stylized wood slice wall art
- Refinished gas station sign style board
- Painted storage chest with decorative glaze
- Multi-material mixed-media frame
- Unique lamp from thrifted base and shade
Troubleshooting common issues
Short solutions for typical problems encountered during thrift flips.
- Paint peeling after a few weeks: Likely poor adhesion; strip back, prime (use a shellac or tannin-blocking primer) and repaint.
- Stain bleeding through paint: Apply shellac sealer, then repaint. Allow adequate cure between coats.
- Hardware not sticking or loose: Use E6000 plus a mechanical fastener (screw) where possible.
- Warped wood that won’t glue: Consider reusing legs or hardware and creating a new top with reclaimed wood.
What finishes should I use on thrifted wood to get a "designer" look?
A layered finish often reads as high-end: prime or strip as needed, paint a neutral base, add a tinted decorative glaze to mimic wood grain, highlight with a light dry-brush, and finish with polyacrylic or a finishing wax. White wax softens tones and creates a boutique look.
How do I remove gold or brass plating from thrifted hardware?
Try a heavy-duty oven cleaner sprayed on, allow to sit, and scrub. If that fails, use a specific metal/plating stripper or replace the hardware. Always test and work outdoors with gloves and eye protection.
Can I use non-food-safe stains on cutting boards?
No. If you plan to use a board for food prep, only finish it with food-safe oils (mineral oil, Walrus Oil) and food-safe waxes. For decorative boards used as staging props, non-food-safe stains are acceptable but should be clearly labeled if sold.
How do I stop tannin bleed on oak before painting?
Apply a shellac-based primer or a shellac sealing coat over the sanded oak before priming and painting. Shellac effectively blocks tannins and prevents yellowed patches from appearing through light paint.
Is it worth refinishing pieces with veneer?
Veneer can be refinished but is more fragile. If the veneer is intact and not lifting, you can sand lightly, use tinted glazes, or paint over it. For badly damaged veneer it is often better to replace the top or cover with a new board.
Final tips and next steps
Start small and build your skills. Pick a few easy projects—painted vases, bead garlands, a chalkboard frame—and gradually try more advanced techniques like cusing or stripping large frames. Keep a reference list of your go-to products and test them in small areas so you know how they behave. Thrift flips are as much about experimentation as they are about craft; with the right technique, even inexpensive finds can look intentional and expensive.
Ready to start? Make a short shopping list, pack a basic tool kit, and plan one weekend project to build momentum. The combination of inexpensive materials, a handful of reliable techniques, and a little patience will transform your thrifted finds into pieces you love.


0 Comments