
Are you looking for a designer touch in your decor but on a budget? This manual assembles 30 top-notch, high-impact DIY projects that you can make with the help of a dollar store and regular craft supplies. Each concept features a brief materials list, straight-to-the-point steps, time and cost estimates, and hints for troubleshooting to help you reproduce length for garden, kitchen, living room, and holiday tablescape.
Table of Contents
- Why dollar-store dupes work and who they’re for
- Essential tools and supplies to have on hand
- How to use this guide
- Outdoor & Garden
- Entry, Living Room & Surfaces
- Kitchen & Dining
- Seasonal Fall Decor
- Holiday & Winter Decor
- Storage, Shelving & Organization
- Quick Weekend Projects (Under 1 Hour)
- Decor Finishes That Make Everything Look High-End
- Common Mistakes and How to Avoid Them
- Where to source materials (and useful alternatives)
- Project checklist: what to prep before a DIY session
- Quick project time and cost matrix
- Finishing touches that elevate every display
- How do I make dollar store items look more expensive?
- Will paint and stain stick to plastic items?
- Are these projects safe for outdoor use?
- What adhesives should I use for wood vs. plastic vs. glass?
- How do I get textured paint like pottery (baking soda technique)?
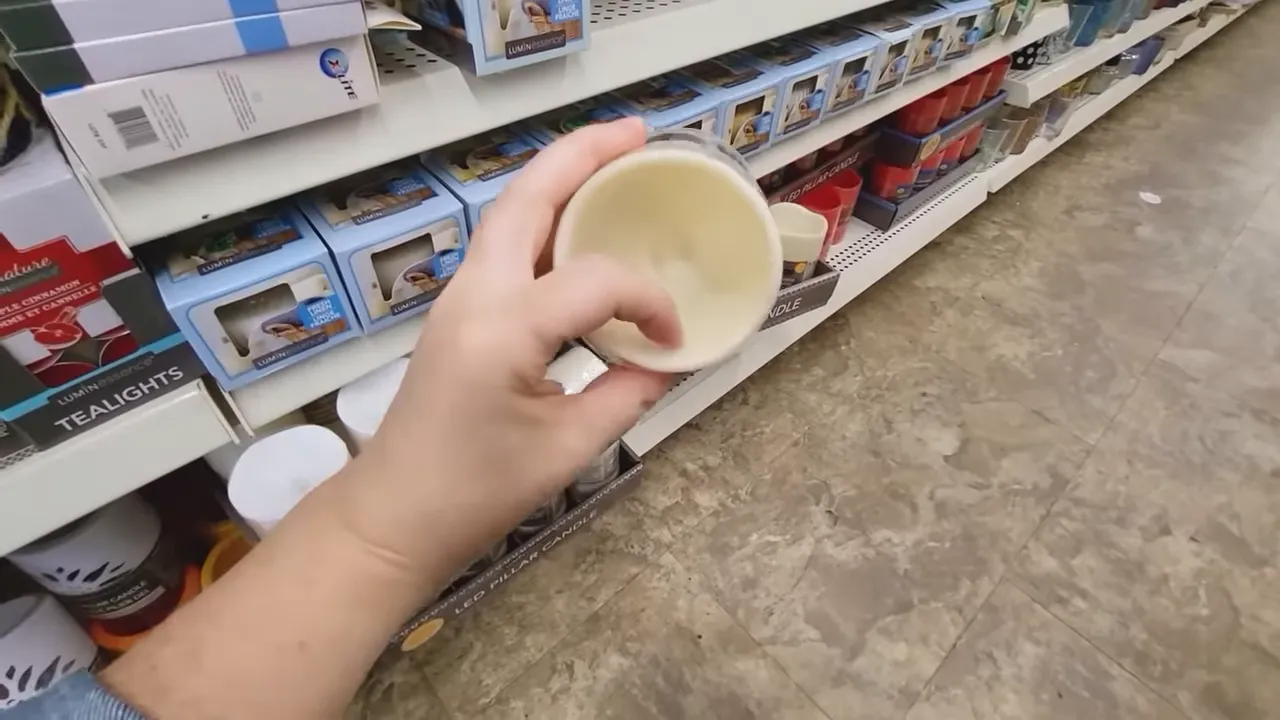
- Can I use regular candles instead of LED candles?
- Final notes and next steps
Why dollar-store dupes work and who they’re for
Dollar store dupes can be achieved successfully as these involve blending cheap base items along with a few additions: quality adhesives, paint or stain, metallic accents, and simple hardware. Such projects can be the best for:
- New renters who want a polished look on a budget
- Seasonal decorators who need cheap, replaceable pieces
- DIYers looking for quick weekend crafts
- Anyone who wants to personalize mass-produced items
Essential tools and supplies to have on hand
If you stock some primarily needed supplies, you will be able to handle almost all of these projects without making any extra trips to a store.
- Adhesives: hot glue gun (and Gorilla glue sticks for wood), E6000 or similar industrial adhesive
- Paint & finish: acrylic paint, chalk paint, spray paint (gold/metallic), wood stain (Special Walnut is a versatile brown)
- Brushes & applicators: foam brushes, small craft brushes, sanding paper
- Miscellaneous: Mod Podge, Epsom salt (for snowy texture), baking soda (for textured paint), twine, jute rope, zip ties
- Lighting: battery-operated LED candles and solar lights
- Floral & seasonal extras: faux florals, mini pumpkins, pine cones, bottle brush trees
- Tools: wire cutters, scissors, craft knife, staple gun or glue dots
How to use this guide
The following projects have been organized according to the room or season. Each project displays a brief introduction, a list of the necessary materials, an easy-to-follow procedure, the estimated time and cost, and the common pitfalls that should be avoided. The table of contents will guide you directly to the category you require.
Outdoor & Garden
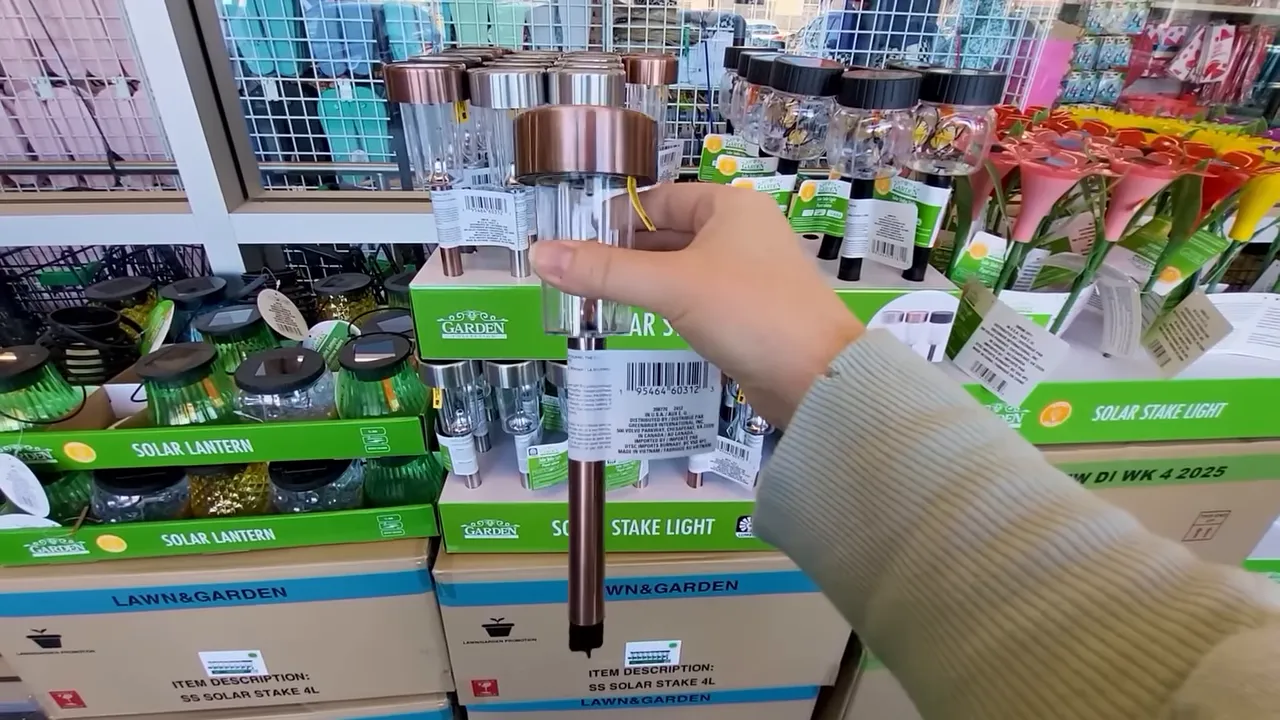
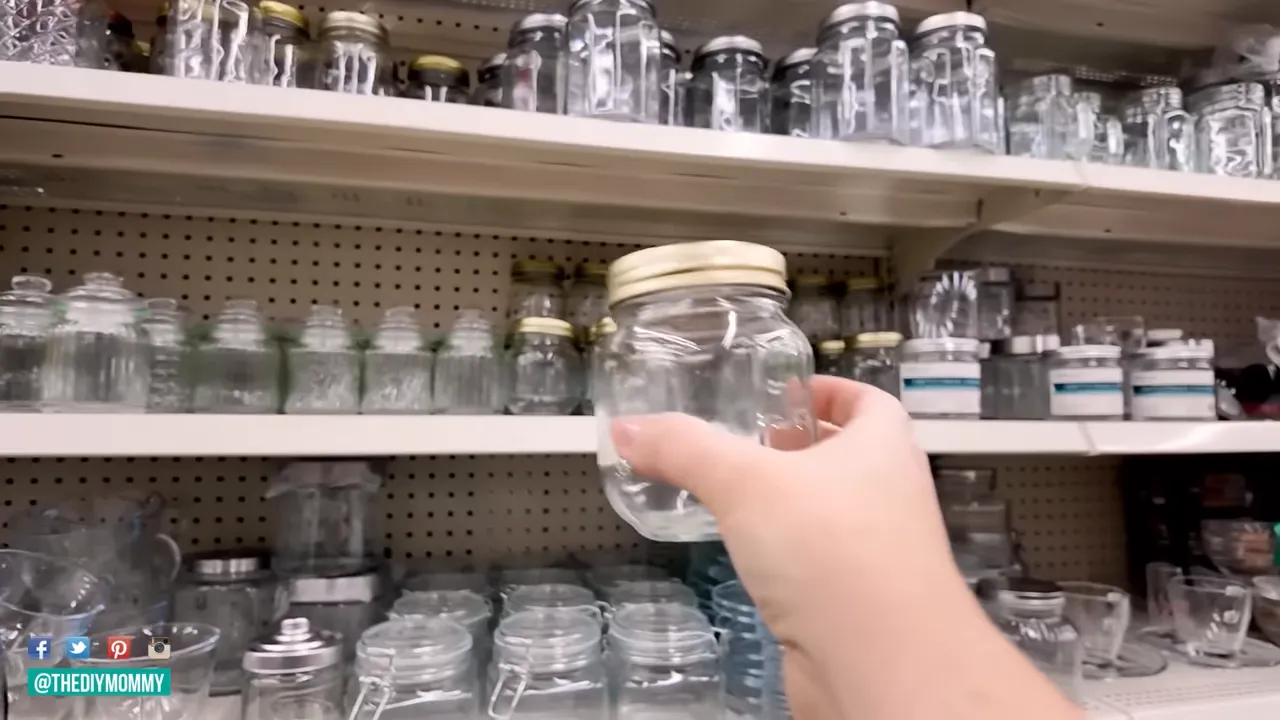
1. Antique-look solar jar lanterns
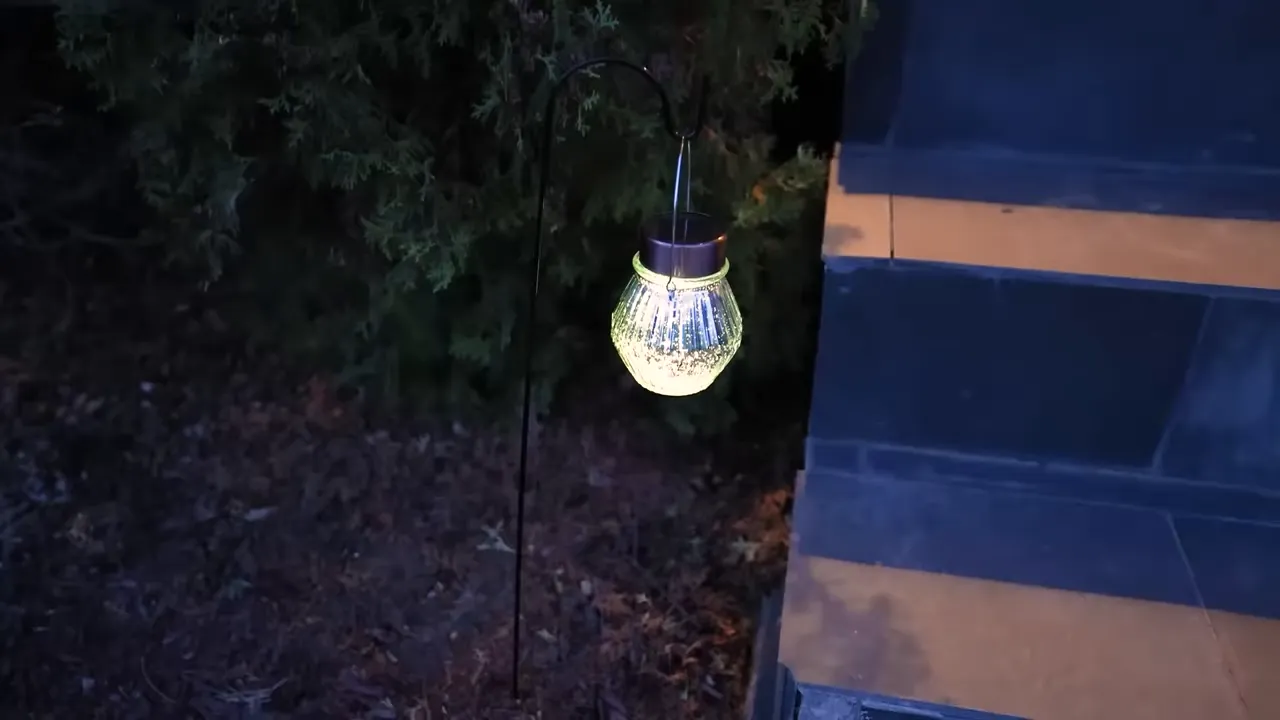
Transform inexpensive glass jars and solar garden lights into retro-style lanterns which can shine for the whole night directly.
- Materials: glass jars with handles, small solar lights, E6000 adhesive, garden stakes
- Steps:
- Separate the solar light head from its base.
- Apply a bead of E6000 around the inside lip of a jar lid or top opening and press the solar light head into place so it sits centered.
- Allow adhesive to cure fully (follow E6000 cure time) then mount on a garden stake and place in a sunny spot so the light recharges.
- Time: 10–20 minutes active, plus adhesive cure time
- Estimated cost: $3–$8 per lantern
- Tip: Use jars with textured or tinted glass to create different light effects.
2. Mini toadstool pathway lights
Mini plastic bowls and solar light heads can be changed into fairy-tale toadstools for a garden path with a little craftsmanship.
- Materials: solar light heads, small plastic dessert bowls, E6000 or silicone adhesive, garden stakes
- Steps:
- Glue a plastic bowl upside down onto the solar light head rim.
- Insert the stake back into the solar light base and mount in soil. Make sure the solar panel faces sun during the day.
- Tip: Paint the bowl’s exterior for color or dot with acrylic paint for a mushroom look.
Entry, Living Room & Surfaces
3. Luxe jewelry organizer from a picture frame
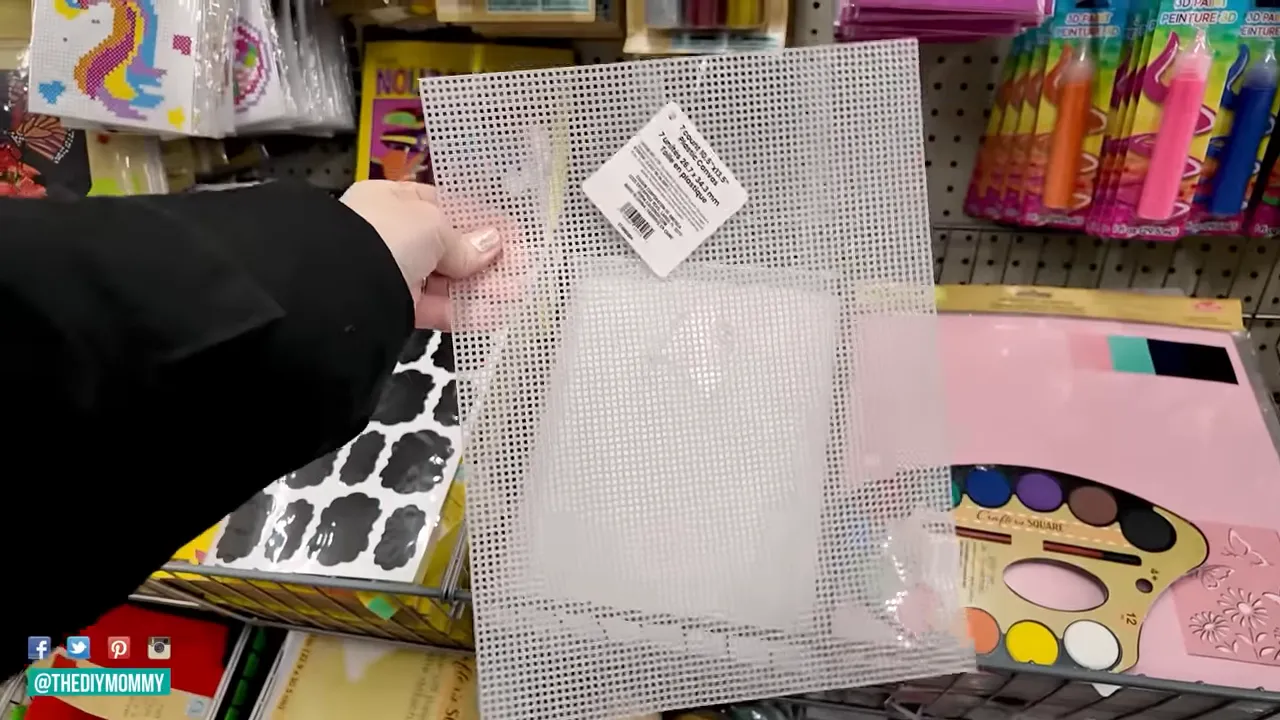
Use an ornate frame and a plastic grid sheet to create an earring organizer that can be displayed on the dressing table or any other part of the house.
- Materials: decorative frame, plastic mesh/grid sheet, small display easel or frame stand, hot glue
- Steps:
- Remove glass and backing from the frame.
- Cut the plastic mesh to the frame’s inner dimensions.
- Glue the mesh into the frame recess and set the frame on an easel or prop on a shelf.
- Tip: Paint the frame a soft terracotta or aged gold to enhance the vignette.
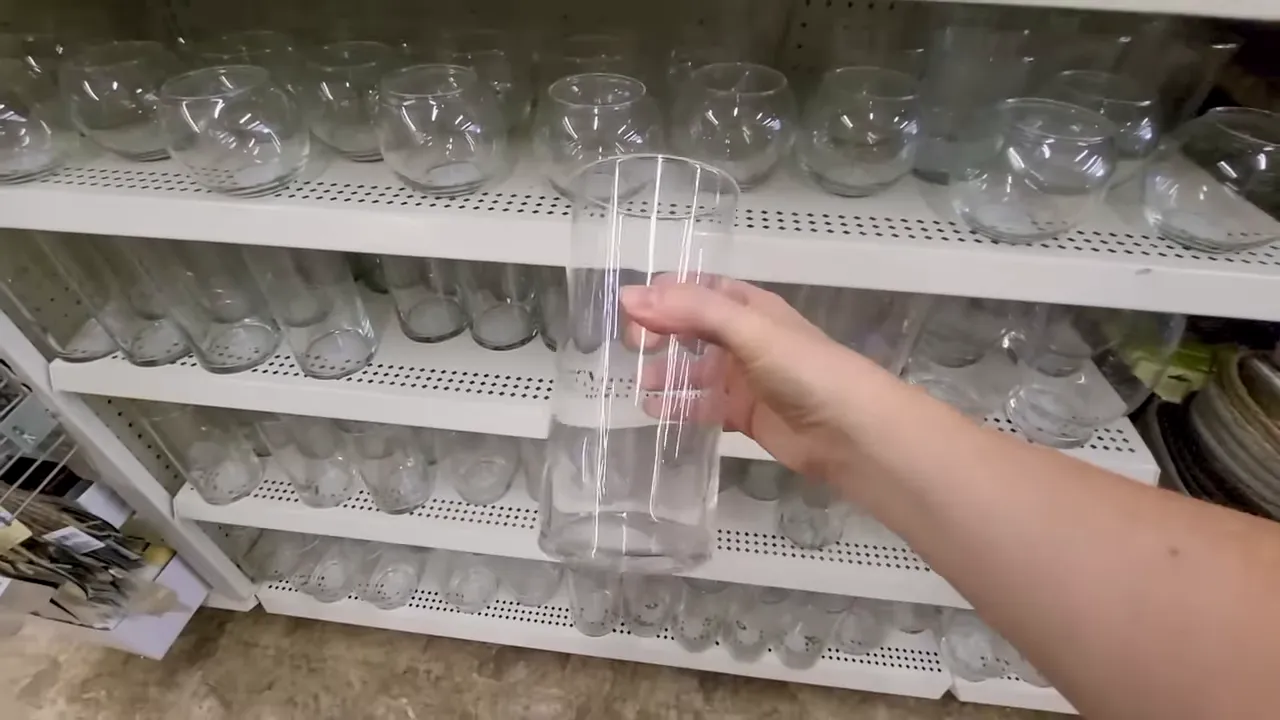
4. Nautical painted napkin vase (coastal pottery look)
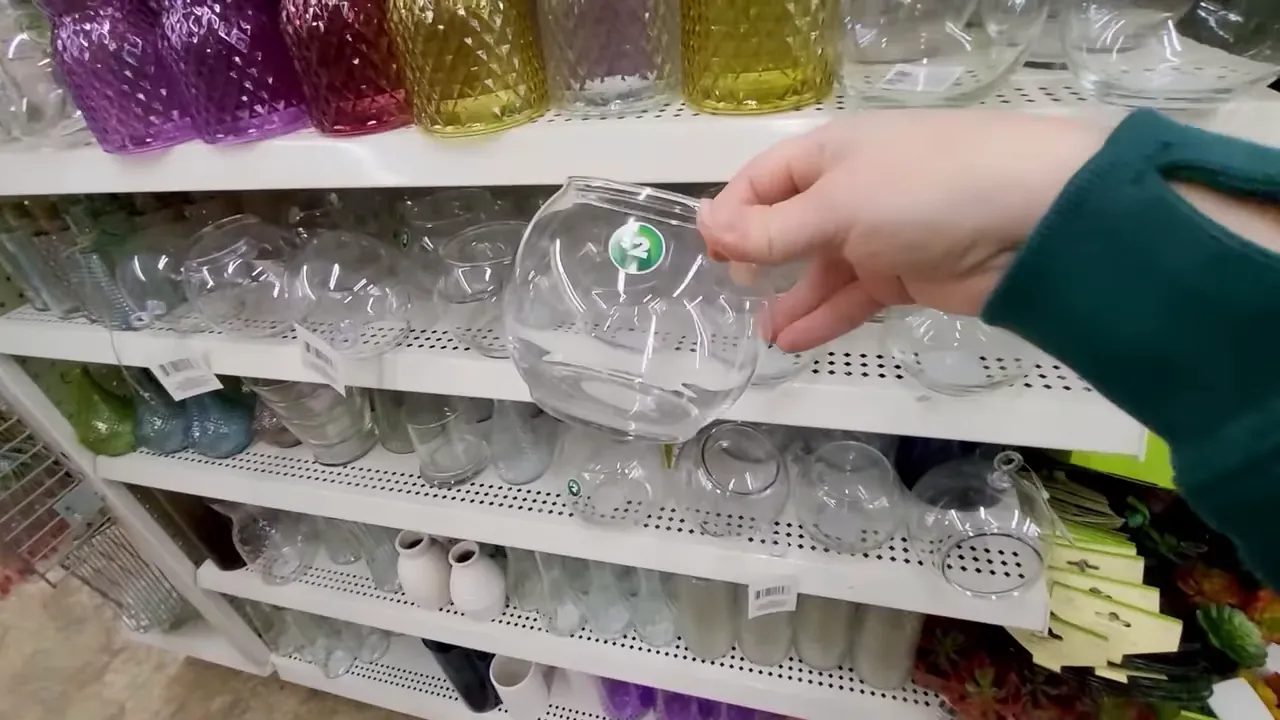
Use paper napkins and Mod Podge to create an old-world hand-painted vessel from an inexpensive glass vase.
- Materials: round glass vase, white acrylic paint, patterned paper napkins, Mod Podge, foam brush
- Steps:
- Paint the vase white (two thin coats).
- Separate napkin plies and cut design motifs.
- Adhere napkin pieces with Mod Podge, smoothing wrinkles gently; seal with another coat.
- Tip: Keep patterns asymmetrical and layered for a more artisanal appearance.
5. Fabric-covered decorative books stack
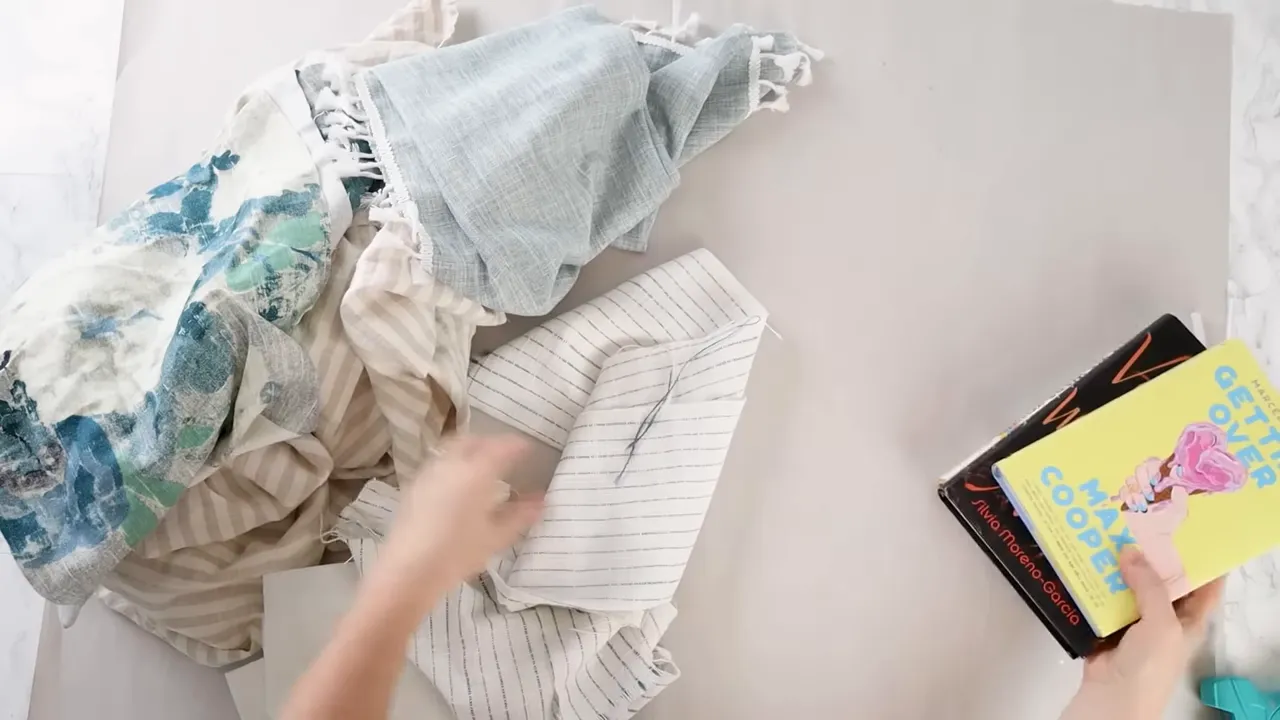
Turn generic hardback books into coordinated decor accents using scrap fabric and a hot glue gun.
- Materials: hardback books, fabric scraps, hot glue, felt for lining
- Steps:
- Remove dust jackets and measure fabric to cover each book (leave extra to fold in).
- Glue fabric to the board cover perimeter, leaving the spine area flexible; trim and fold neatly at the corners.
- Glue felt onto inner covers for a finished look.
- Tip: Mix solids and subtle patterns to create a curated stack without visual noise.
Kitchen & Dining
6. Stained wooden kitchen riser (stove-side turntable)
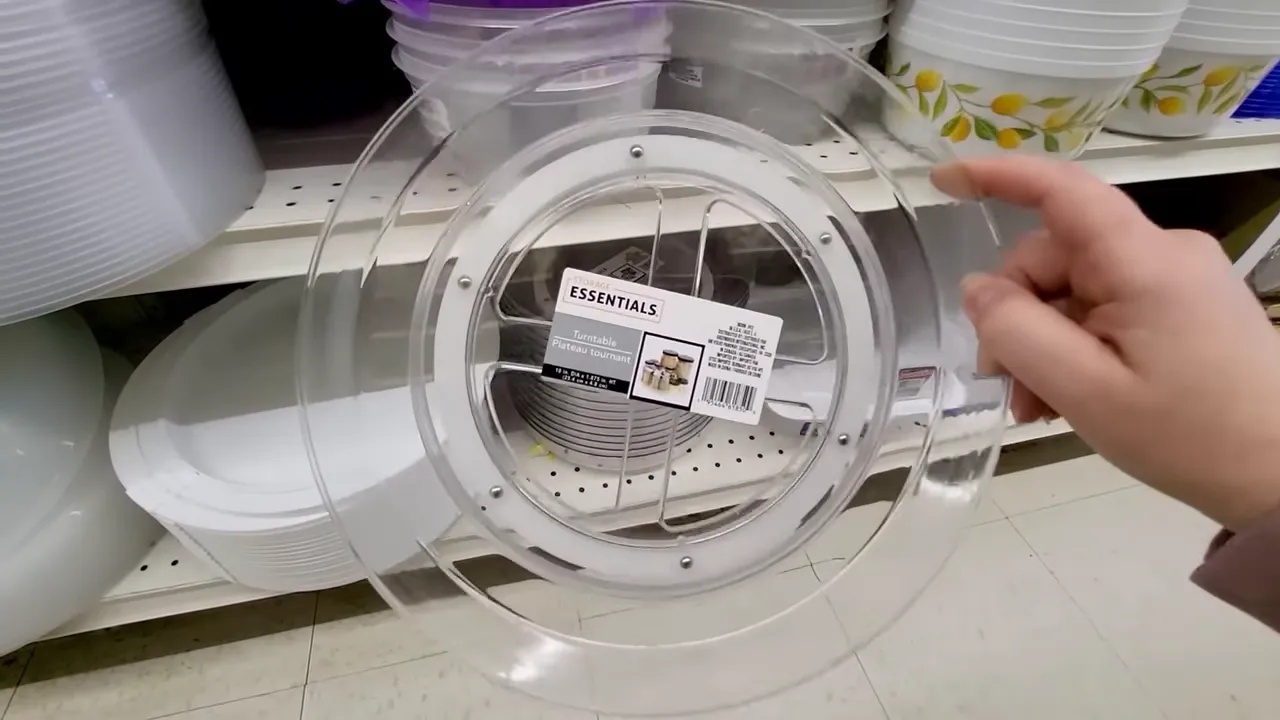
By attaching a stained wooden round you can reinforce the plastic turntable to be a wonderful wood riser for oils and spices.
- Materials: plastic turntable, round wooden craft sign, wood stain, hot glue or removable adhesive dots
- Steps:
- Stain the wooden round and wipe off excess for an even finish.
- Once dry, attach it to the turntable with hot glue for permanent adhesion or glue dots for removability.
- Time: 30–60 minutes plus drying time
- Tip: Use a stain color that complements your countertop tones.
7. Little tray with chunky feet (countertop organizer)
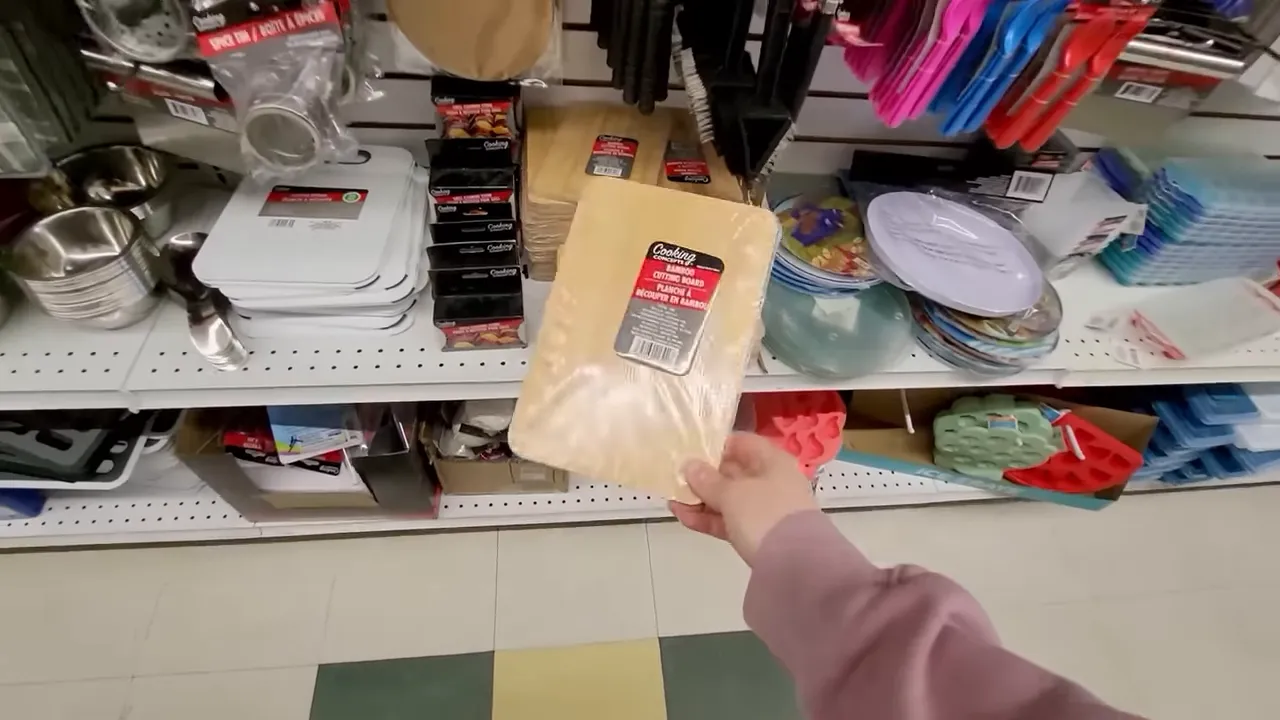
An excellent idea is to use a small cutting board and wooden craft cubes or dice for the construction of a fashionable raised tray for soaps, spices, or condiments.
- Materials: bamboo cutting board, wooden dice or cubes, wood stain, hot glue
- Steps:
- Stain the cutting board and dice to match.
- Glue four dice to the board corners as feet.
- Tip: Use felt pads under feet if placing on delicate surfaces.
8. Gold-lidded storage jars
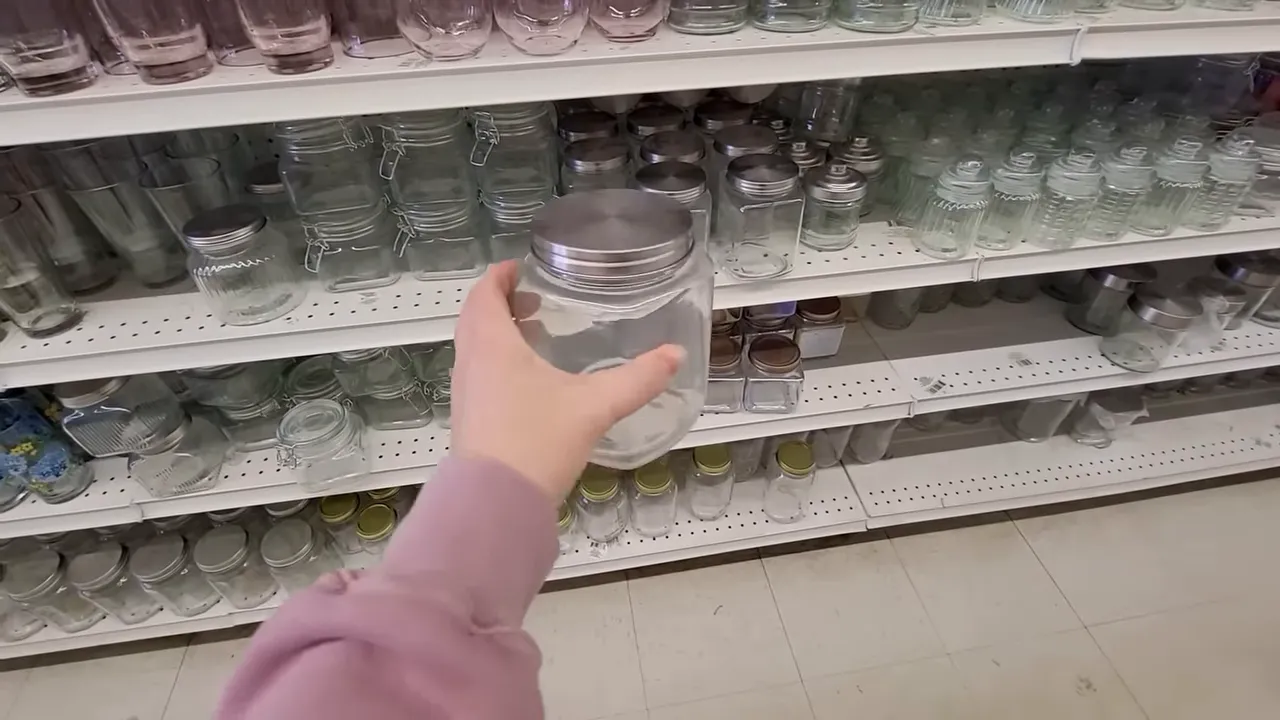
Give ordinary countertop canisters an upscale look by spray-painting their lids and adding decorative knobs.
- Materials: square glass jars, spray paint (gold), knobs or pulls, hot glue
- Steps:
- Remove labels and clean jars thoroughly.
- Spray-paint lids, then glue a decorative knob in the center.
- Use for coffee pods, tea bags, or pantry staples.
- Tip: Heat the sticker residue slightly with a hair dryer to remove stubborn adhesive.
Seasonal Fall Decor
9. Layered fall centerpiece in a hurricane vase
A warm and textured centerpiece can be made with such items as string lights, mini pumpkins, pine cones, and faux acorns.
- Materials: hurricane vase, copper string LED lights, mini foam pumpkins, faux pine cones and acorns
- Steps:
- Place the LED string at the vase’s base and weave it as you add pumpkins and cones.
- Tuck the battery pack behind the vase for a seamless look.
- Tip: Put this on a black or wood tray for a high-contrast, elevated display.
10. Pool-noodle fall centerpiece (long table runner)
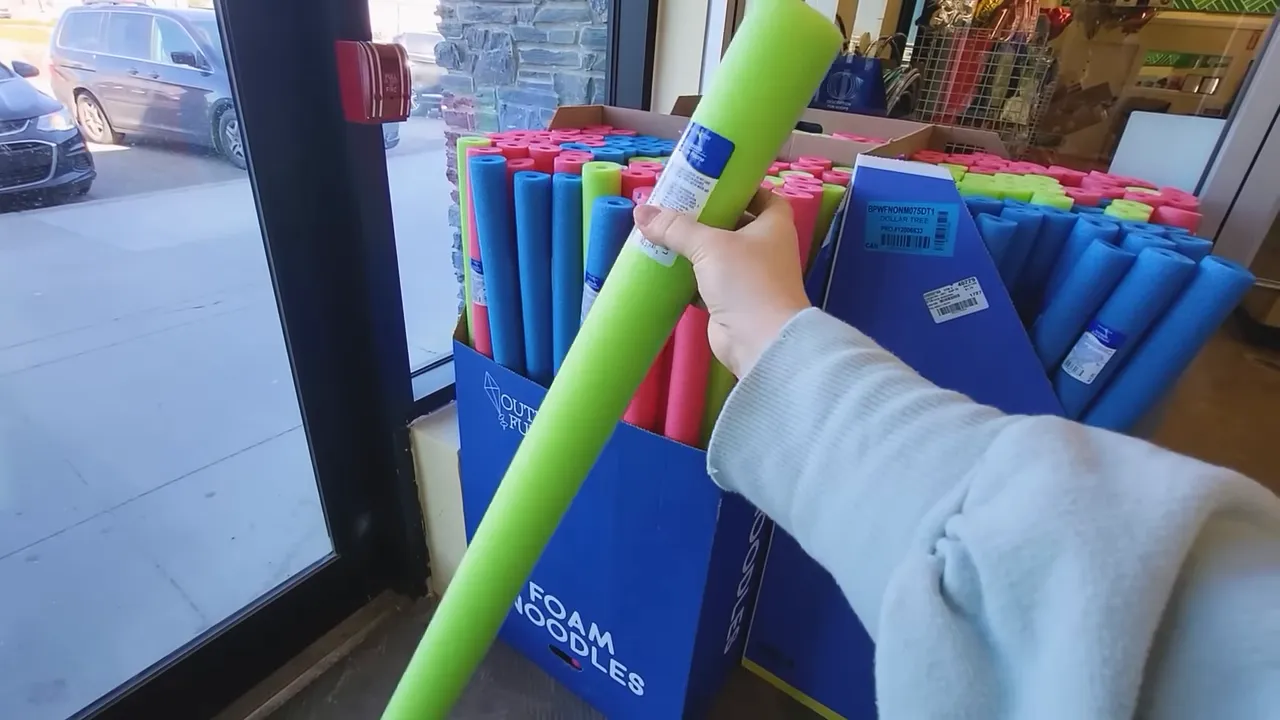
You can create a vibrant floral runner by easily attaching the pool noodles to the candle holders and inserting individual artificial flower stems inside them for the effect of depth and volume.
- Materials: green pool noodles, candle holders, zip ties, faux floral stems (20+), wire cutters
- Steps:
- Zip-tie pool noodles around grouped candle holders to create a base.
- Cut stems apart and push pieces deep into the noodles, alternating colors and textures.
- Tip: Use wheat and textural grasses to break up color blocks and add natural movement.
11. Cottagecore painted pumpkins and wreath
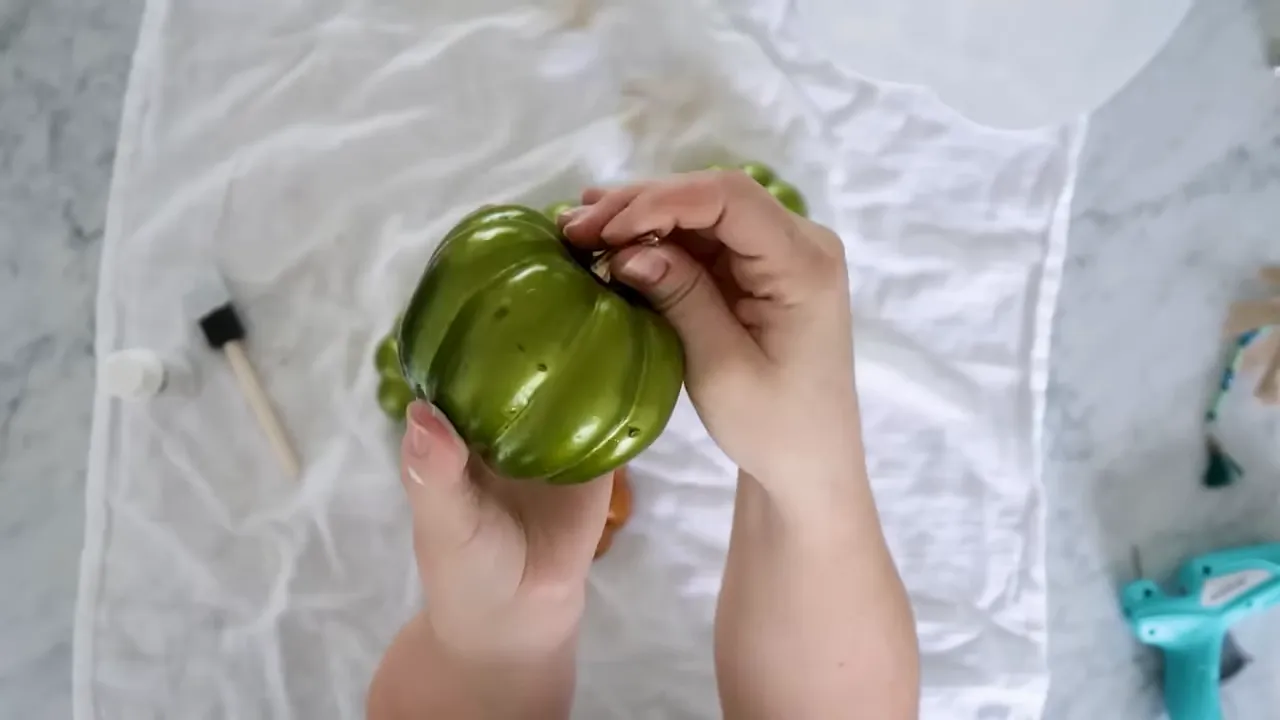
Turn inexpensive faux pumpkins into rustic accents with chalk paint and sanded edges, then mount them on a grapevine wreath for a subtle, neutral fall display.
- Materials: faux pumpkins, chalk-style paint, sandpaper, faux florals, grapevine wreath base
- Steps:
- Paint pumpkins with chalk paint; sand corners for a worn look.
- Hot-glue pumpkins and floral stems onto a grapevine wreath, arranging them slightly off-center for a modern composition.
- Tip: Keep a consistent neutral palette (cream, beige, muted orange) to mimic high-end retailer styling.
Holiday & Winter Decor
12. Rustic-glam Christmas ornaments (baking soda paint)
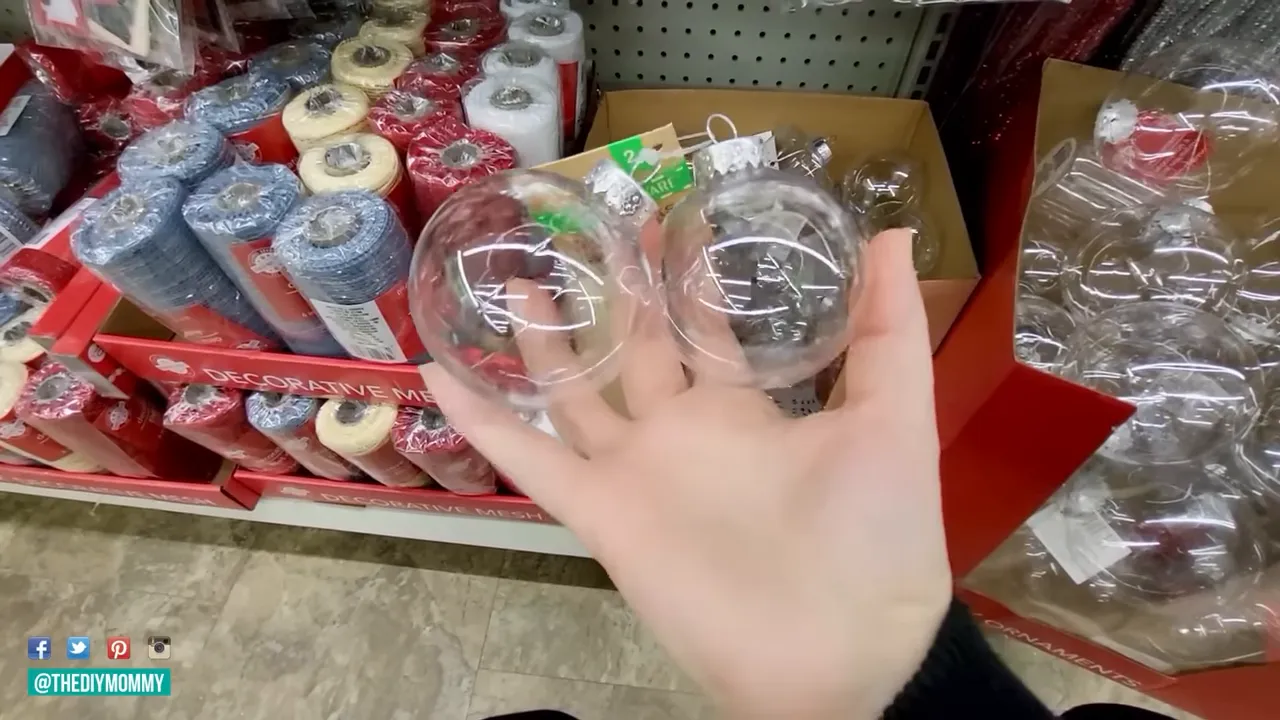
Use a baking soda and acrylic paint mixture for a matte textured finish on inexpensive glass ornament balls, then add metallic dry-brushing for a luxe effect.
- Materials: Christmas ball ornaments, acrylic paints, baking soda, cocoa powder, metallic paints, skewers and foam block for drying
- Steps:
- Mix one part baking soda to one part acrylic paint to achieve a thick, textured paint.
- Paint ornaments in two to three coats, letting dry between coats.
- While slightly tacky, dab cocoa powder for an aged patina; after fully dry, dry-brush metallic paint for highlights.
- Tip: Use different base hues then repeat the metallic accent for a cohesive collection.
13. Faux candle makeover with ironed napkin covers
Customize battery-operated wax-coated LED candles by infusing patterned napkins into the wax with heat for seasonal color and texture.
- Materials: wax-coated LED candles, printed paper napkins, parchment paper, iron on low heat
- Steps:
- Wrap a single-ply napkin around the candle, protect with parchment paper, and iron on low to fuse the napkin into the wax coating.
- Trim edges and gently iron again for clean seams.
- Safety note: Always use parchment between the iron and napkin to prevent scorching and avoid overheating the battery compartment.
14. Boutique-style match jar
Show matches in a stylish glass jar with the striker patch that you can attach to the bottom so you can strike a match anywhere without using the original box.
- Materials: glass jar with bamboo lid, wooden matches, striker strip from original matchbox, hot glue
- Steps:
- Transfer matches into the jar horizontally to maximize space.
- Cut the striker strip from the box and glue it to the jar bottom on the outside for use when striking.
- Tip: Store beside candles for easy access and an attractive vignette.
Storage, Shelving & Organization
15. Stained hanging baskets turned kitchen caddies
Dye or paint plain hanging baskets or small plastic caddies to bring a vintage cottage style to your kitchen and hang from a rail for immediate countertop relief.
- Materials: small baskets or containers, wood stain or acrylic paint, S-hooks, wall rail (optional)
- Steps:
- Treat plastic with a stain-like approach: test first—some plastics take paint better than stain. Use paint made for plastic to achieve good adhesion.
- Hang with S-hooks on a rail beside the island to hold towels, mail, or miscellaneous items.
- Tip: Allow painted plastic a full week to cure before heavy use; this reduces transfer or sticky spots.
16. Tiered wooden box organizer
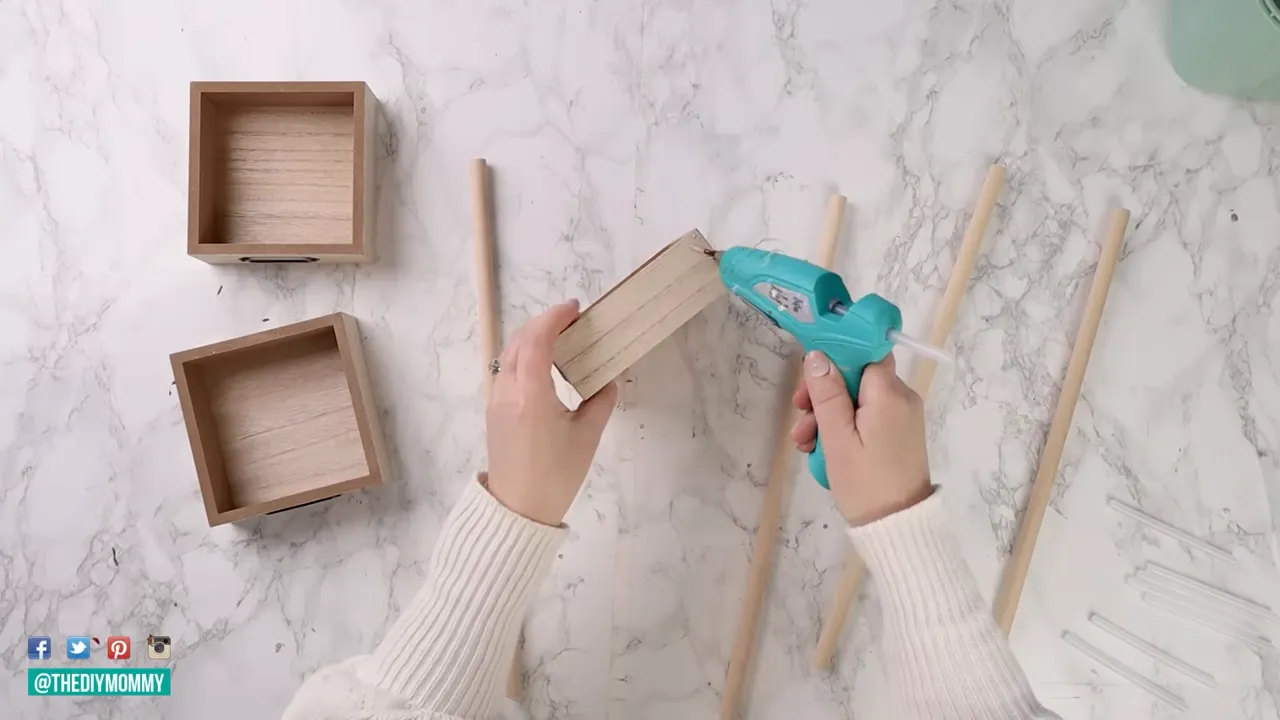
Utilize wooden craft boxes and dowels because the Gorilla glue hot sticks can be assembled to make a tiered tray for coffee condiments or bathroom toiletries.
- Materials: wooden craft boxes, wooden dowels, Gorilla glue sticks, hot glue gun
- Steps:
- Glue dowels on two opposite corners of each box to connect tiers vertically.
- Assemble three boxes into a staggered stack, reinforcing joints with extra glue.
- Tip: If painting, do so before final assembly for neater edges.
17. Labeled laundry bins for a cohesive utility room

Basic color bins can get a touch of elegance simply by adding consistent labels cut from removable vinyl using a cutting machine or label maker.
- Materials: storage bins, removable vinyl labels, label machine or cutting machine
- Steps:
- Choose neutral or coordinating bins that match the room palette.
- Cut vinyl labels for categories like detergent, dryer accessories, and miscellaneous tools and apply to the front.
- Tip: Removable vinyl saves the surface when you want to swap labels seasonally.
Quick Weekend Projects (Under 1 Hour)
18. Snowy Epsom salt lantern jars
Create frosted jar lanterns using Mod Podge and Epsom salt for a snow-dusted winter glow.
- Materials: glass jar, Mod Podge, Epsom salt, twine, faux greenery picks, battery tea light
- Steps:
- Brush Mod Podge around the jar body and sprinkle Epsom salt until fully covered; tap off excess after drying.
- Tie twine around the neck and secure faux greenery with hot glue.
- Time: 30–45 minutes (plus dry time)
19. Coastal jute tray upgrade
Instead of buying an expensive plastic party tray, you can make it yourself by jute rope. Just cover the plastic tray with jute rope. You can transform an ordinary plastic serving tray into a premium one with just a few materials.
- Materials: plastic tray, thin jute rope, thicker jute for handles, hot glue
- Steps:
- Wrap jute in a spiral from the center outward, tacking with hot glue every 1–2 inches.
- Add thick rope handles and cover them with more thin jute wrapping to integrate the look.
- Tip: Leave a small rim of the tray visible on the back for a layered finish.
20. Ghost tealight covers from air-dry clay
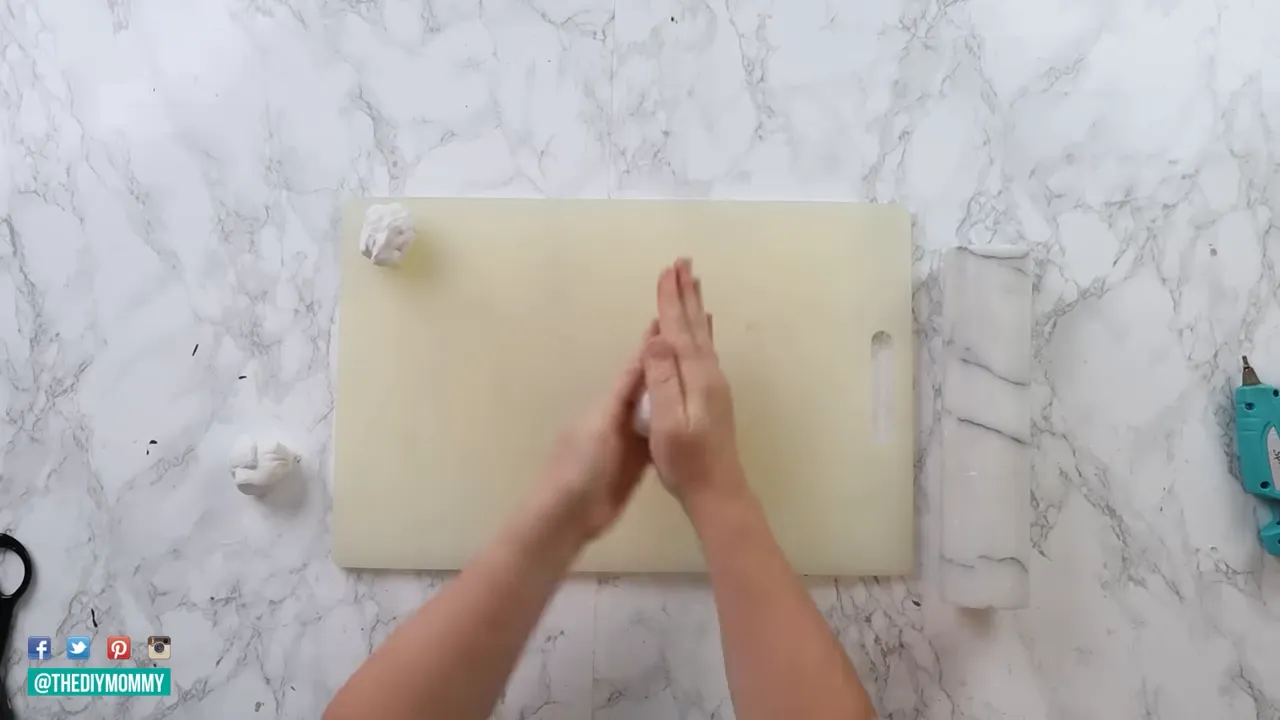
Whip up simple ghost tealight covers using air-dry clay for a whimsical seasonal accent.
- Materials: air-dry clay, small jar or foil form for shaping, straw for eye holes, faux twinkling tea lights
- Steps:
- Roll clay into a spherical dome, drape and pinch to shape a ghost, and use a straw to create eye impressions.
- Let dry fully, then place over battery tea lights.
Decor Finishes That Make Everything Look High-End
The addition of minor finishing touches frequently results in the most significant increase in the perceived value of the item:
- Metallic dry-brushing: Lightly brush gold, bronze, or silver onto textured surfaces to catch highlights.
- Matte textured paint: Mix baking soda into paint for a pottery-like, tactile finish.
- Tone down bright plastics: Brush a thin terracotta or earth-toned wash over ornate gold frames and then wipe off to reveal depth in the crevices.
- Remove labels and residue: Always clean sticker glue with a hair dryer and rubbing alcohol before painting or staining.
- Layering: Group items on trays, risers, or stacked books to look curated rather than cluttered.
Common Mistakes and How to Avoid Them
Increase your efficiency and minimize your stress by learning to avoid these traps:
- Skipping surface prep: Paint, stain, or glue adheres poorly to dirty or sticky surfaces. Clean and sand when needed.
- Using the wrong glue: Dollar store glue sticks are fine for light crafts, but heavier applications (wood dowels, wood-on-wood) need Gorilla or industrial-grade adhesives.
- Not curing stain or paint before use: Stains on plastic or painted finishes can transfer if not fully cured; allow the recommended dry time.
- Overpacking ornaments with paint: Textured paint mixtures should be applied in thin layers to avoid cracking or sagging while drying.
- Ignoring battery compartments: Don’t cover or seal battery compartments on solar or LED lights—ensure access for changing batteries when needed.
Where to source materials (and useful alternatives)
For the majority of the projects preparations, materials used can be found in national dollar stores, craft stores, and online marketplaces. In case a specific item is not available, below are substitution options:
- Solar lights: Any small solar garden light will do—look for a detachable head.
- Battery LED candles: Choose ones with a wax coating if you plan to fuse napkin or tissue-paper decorations.
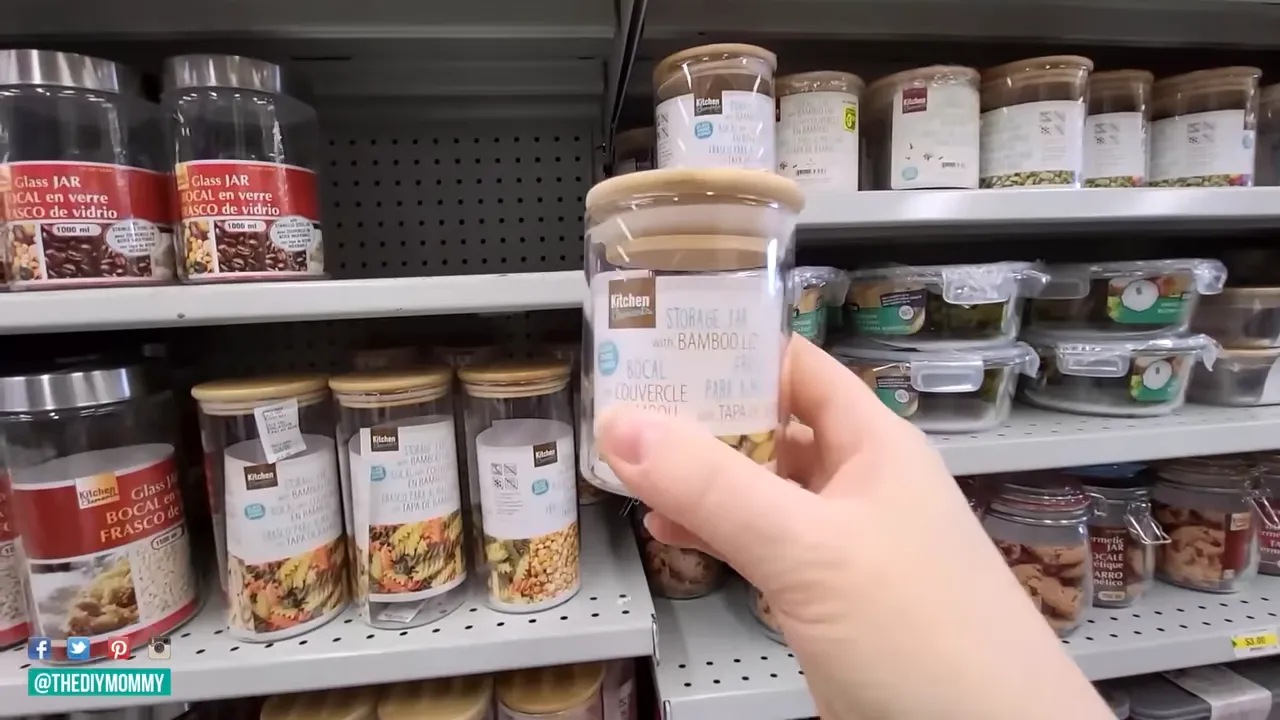
- Glass jars and vases: Repurpose pasta sauce jars or buy inexpensive vases in bulk to make multiple projects.
- String lights: Copper LED string lights add a warm glow and are inexpensive on sale.
Project checklist: what to prep before a DIY session
- Clear workspace with a protective covering for paint and glue.
- Gather all materials and tools so you don’t interrupt the process mid-step.
- Test paint or adhesives on a scrap or inconspicuous area first.
- Allow work to dry fully before moving pieces into active use.
Quick project time and cost matrix
Consider this as a guide for your weekend craft planning:
- Under 1 hour, $3–$8: Solar jar lantern; match jar; napkin candles; fabric books
- 1–3 hours, $5–$15: Jute tray; snowy Epsom salt jars; wooden riser; gold-lidded jars
- Half day, $10–$25: Pool noodle centerpiece; textured ornaments; tiered box organizer
Finishing touches that elevate every display
- Group odd numbers of objects (3 or 5) for visual balance.
- Use a tray or riser to anchor loose items into a cohesive vignette.
- Add living elements like fresh greenery, cut stems, or a small potted plant to bring warmth and life.
- Keep a consistent palette across a vignette to mimic retail styling.
How do I make dollar store items look more expensive?
Pick one or two enhancements: a coat of first-class paint or stain, a metal decoration, and an arrangement of carefully selected items. An effective measure of this kind is to wipe off surfaces, take away stickers, and put on small hardware upgrades like knobs or handles for a fast improvement.
Will paint and stain stick to plastic items?
There are certain types of plastics that have better compatibility with paint than others. It is advisable to carry out your test first in a spot that is not easily visible. You can use paint that is especially made for plastics or you can use a plastic primer for better adhesion after you have roughened the surface with fine sandpaper.
Are these projects safe for outdoor use?
A lot of the tasks (e.g. solar lanterns, jute-wrapped trays) are launched primarily for use in the garden or as seasonal decorative items. The long-lasting outdoor goods choose the robust adhesive types that do not mind the weather, energy-efficient lamps that are not affected by outdoor conditions, and the special finish that is sealed for protection against moisture and sunlight.
What adhesives should I use for wood vs. plastic vs. glass?
Wood: Gorilla hot glue sticks or wood glue. For your references is this material. Wood glue is the best option for clean edges.
Plastic: Take E6000 or silicone adhesives for flexible, durable bonds. Otherwise, they may become liquid after some period of time.
Glass: It is E6000 that is most dependable; hot glue can work for lightweight items but may become ineffective eventually. RememberSt
Always follow the manufacturer's curing time.
How do I get textured paint like pottery (baking soda technique)?
Shading with the addition of artificial stone material and baking powder is not new in the decoration. Use two to three very thin coats by performing it through the drying process. The combination of these two materials gives the item a rough and matte surface so unintentionally it can be used as a clay object to decorate and make rustic designs.
Can I use regular candles instead of LED candles?
LED candles are a safer option and can also be used in crafts such as napkin infusion; it is because you keep the open flames away from glued or other paper elements. When using actual candles, do not over-wrap any part of the candle that will be exposed to heat or flame, but rather use decorated candles for the faux versions.
Final notes and next steps
The effectiveness of these approaches lies in the fact that these are 30 different ways of doing it yourself that require very few materials and practice of skills to achieve high-end or totally coordinated looks. Practice your skills on one or two projects and then move on to larger ones like seasonal displays and the organization of the whole room in a couple of months. The most crucial thing is to go for colors and finishes that you genuinely love—having uniformity among items is the fastest way to achieving the designer's look with a low budget.
List down your favorite tactics, like metallic dry-brushing, textured baking-soda paint, and label consistency, and adopt them in different projects to bring together a common aesthetic. Whole house refreshing with pieces that look like they are custom made just for you is possible with a very low investment and a little time.


0 Comments